


Hummus from scratch. Classic creamy hummus made from scratch with no oil, no garlic, and no onion added. Spiced just right, this hummus is a staple in my house.
How to make the best hummus? Well, It is actually quite simple. There are several easy things to know and to do.
First and for most – ditch the can and do the real thing. If you think you can make the best hummus out of the canned chickpeas (garbanzo beans), you’re kidding yourself. Don’t bother and just buy one from the store.
WATCH ME MAKE IT IN THIS VIDEO 👩🏼🍳
I’m sharing 3 best hummus recipes in this video 👆🏻. All of them are made from scratch, from whole chickpeas (or garbanzo beans, whichever way you want to call them). Along with the video, I’m sharing tips and techniques for making the smoothest and most delicious hummus from scratch.
We will need 1 cup of dry chickpeas. Always start with soaking your chickpeas overnight in lukewarm warm water, with a pinch of salt and a splash of lemon. And if you want to know more about why and how to soak, you can check out this link for more info 👉🏻 Why and how to soak beans, nuts, legumes, and grains
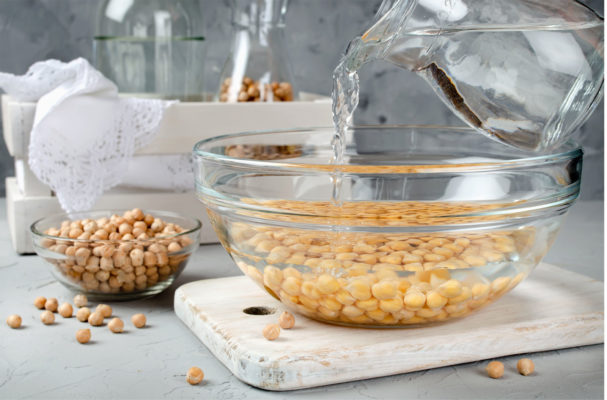
In the morning, rinse your chickpeas thoroughly. Now next step IS OPTIONAL. Don’t go crazy over it 🤪.
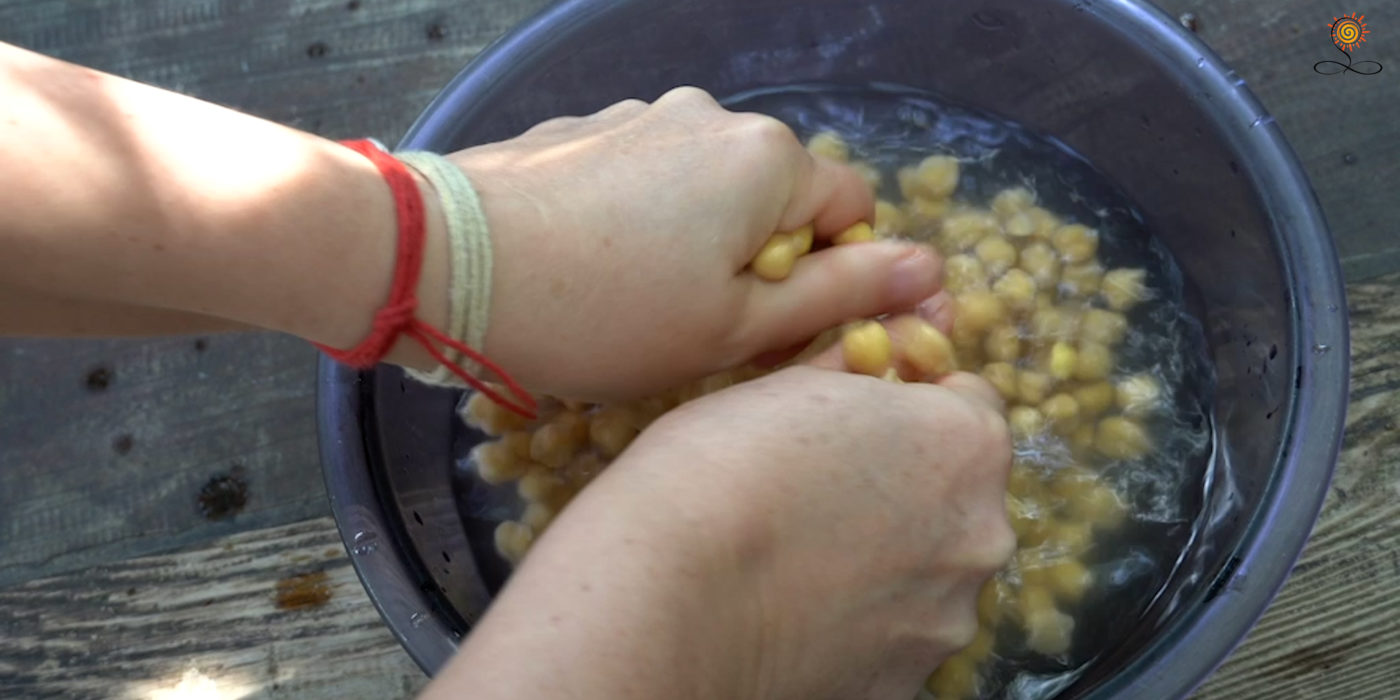
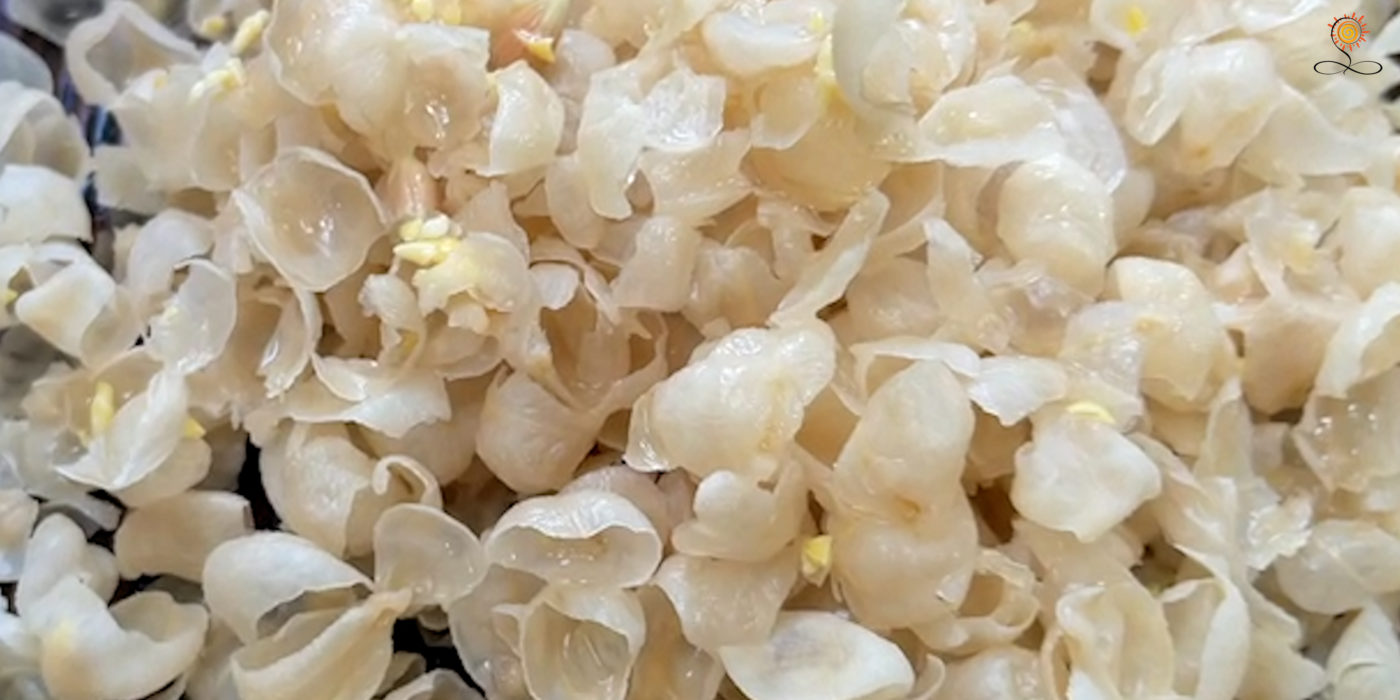
You can grind soaked chickpeas with your hands to remove the outer layer (the skin).
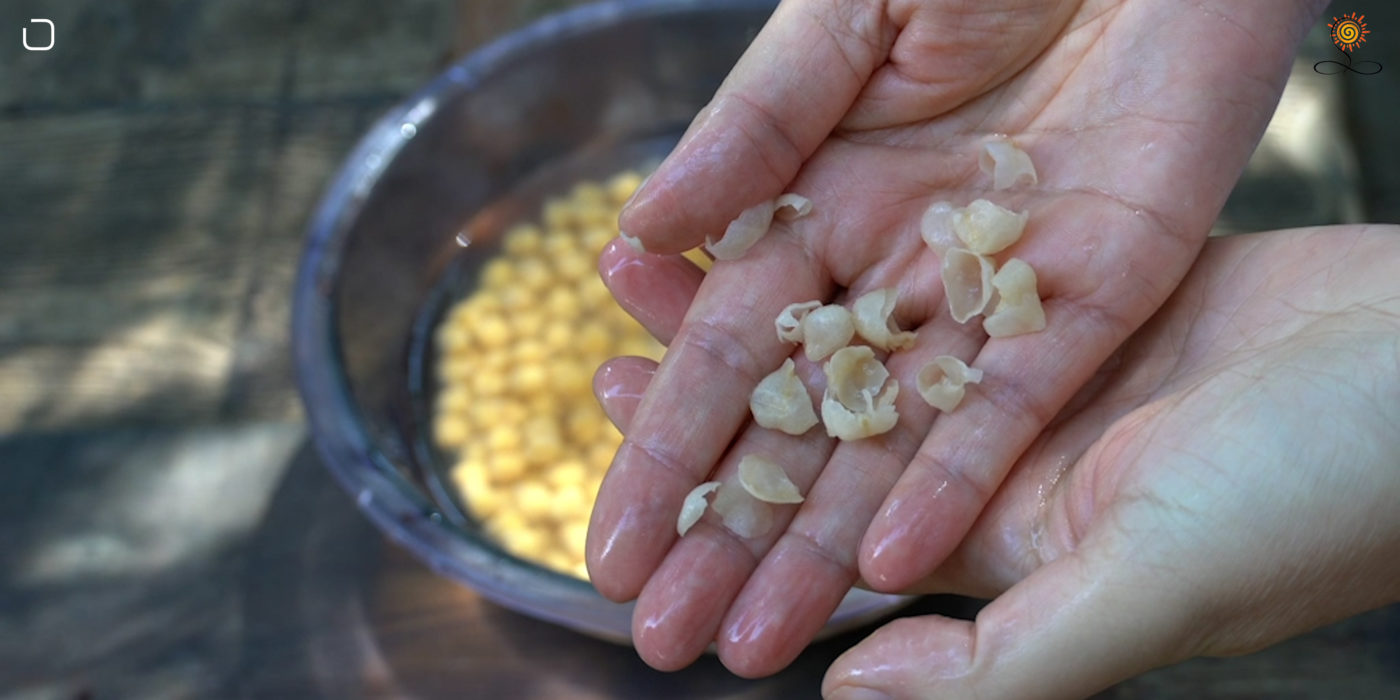
This will make your hummus smoother and creamier. I tried making hummus both ways. With skinned chickpeas and whole once. And that’s true blanched chickpeas will give you smoother hummus if you use a food processor. But if you have a high-power blender (like Vitamix), the difference is almost indistinguishable.
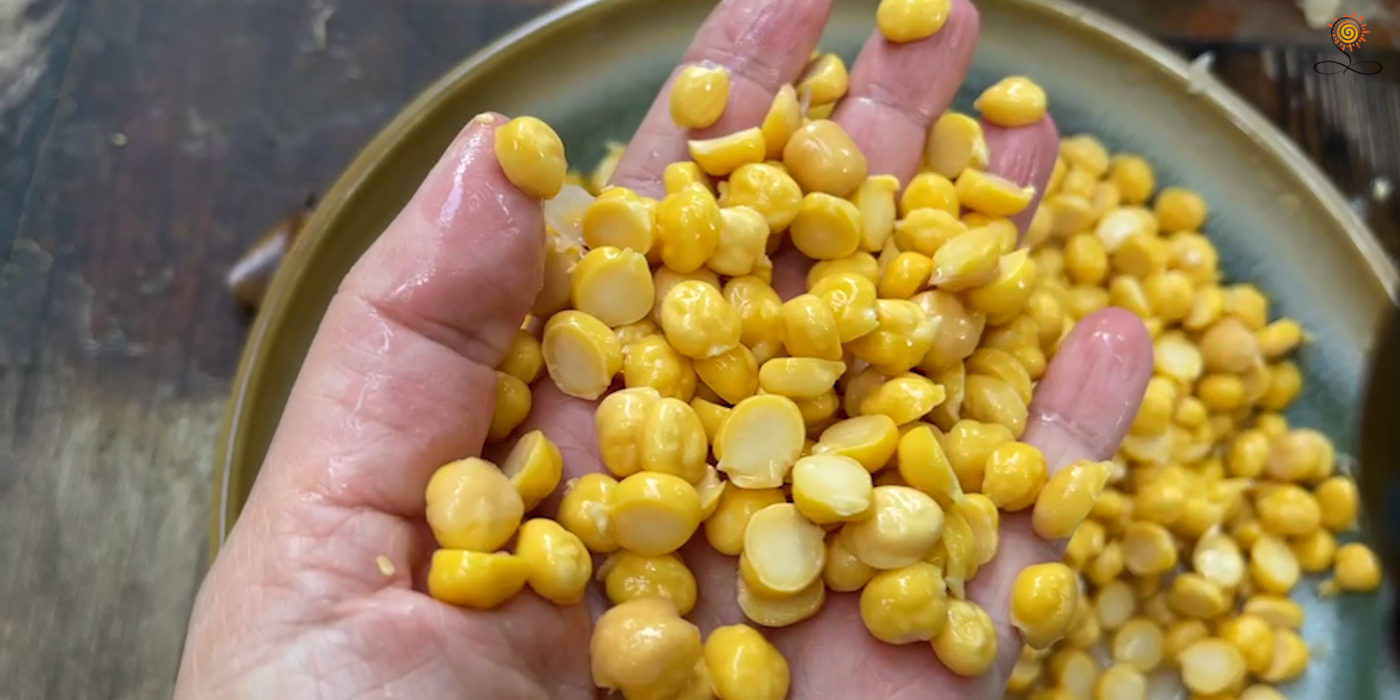
So if you decided to go through with skinning your chickpeas, make it a worthwhile process. I look at it as an excellent opportunity to connect with your food, to give it some love, and to express some appreciation.
If short on time, skip this step with no concerns.
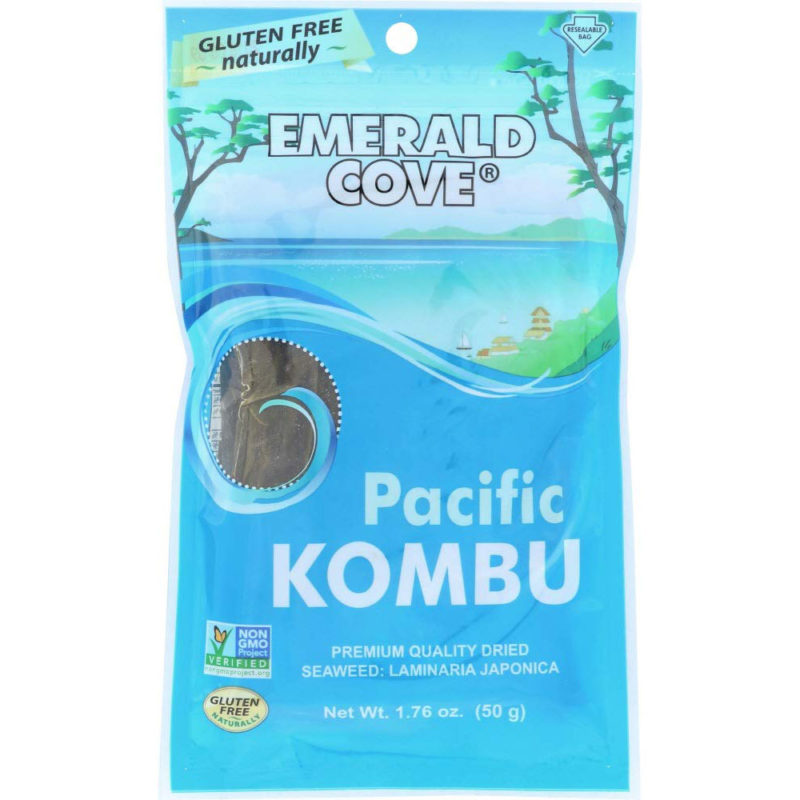
I went all the way here to show you how it’s done. After blanching chickpeas, I’m giving them a second rinse and setting with a piece of kombu. Even though kombu is an optional ingredient, I highly recommend it.
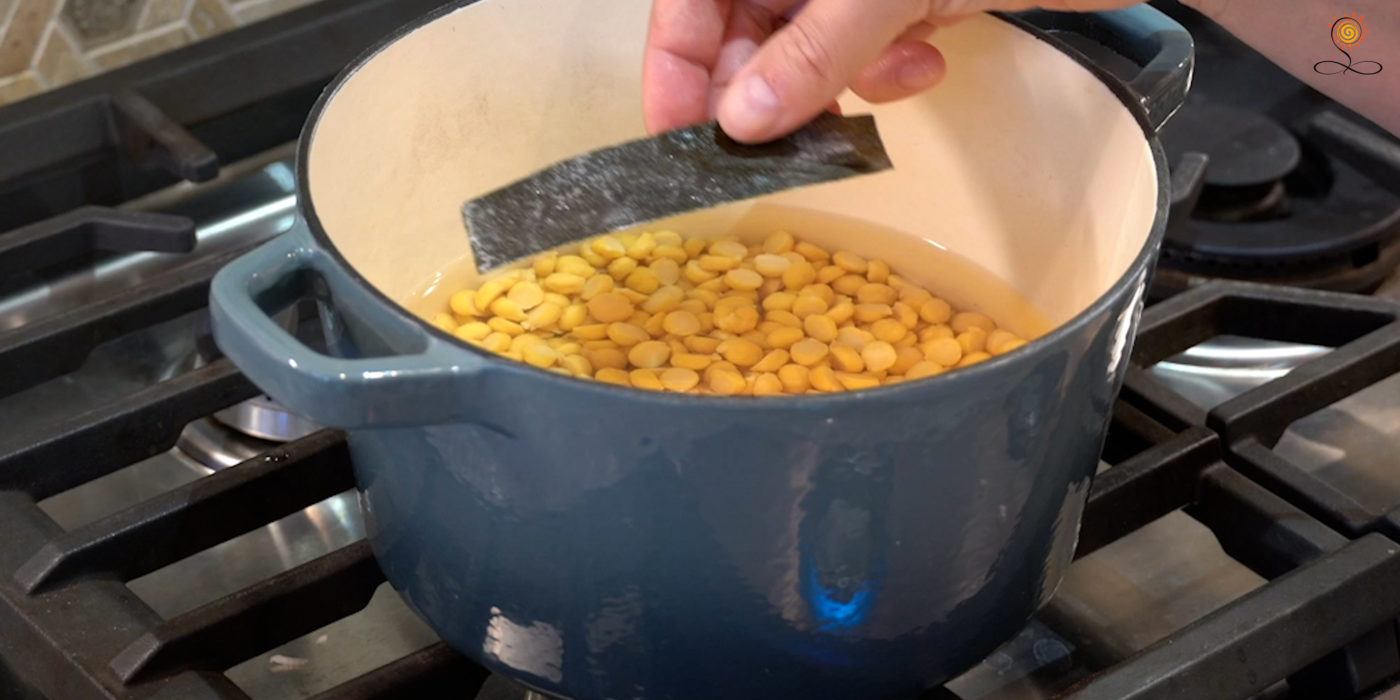
I cook chickpeas with kombu because it contains glutamic acid, an amino acid that helps break down the starches in chickpeas and makes them easier to digest.

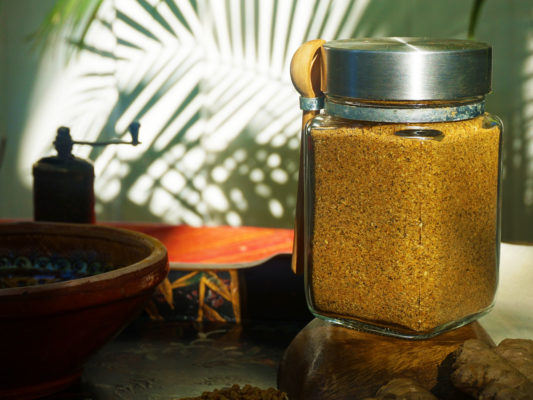
The next ingredient is the Basic savory sattvic spice mix. If you haven’t made it yet, check it out. 👇🏻
The secret to the smooth and soft hummus is well-cooked chickpeas. There is a trick to make them soft quicker that came from commercial kitchens. Commercial cooks add baking soda to speed up the cooking of rice, beans, and lagunes. I don’t add any baking soda; I prefer the old fashion way. I just cook them for a long time (at least 1 hour). You can use a pressure cooker or instapot if you have it at your disposal. The goal is to cook your chickpeas until they are very soft, nice, and smooshy. After cooking them for about 40 min add some Himalayan salt to your liking and continue cooking.
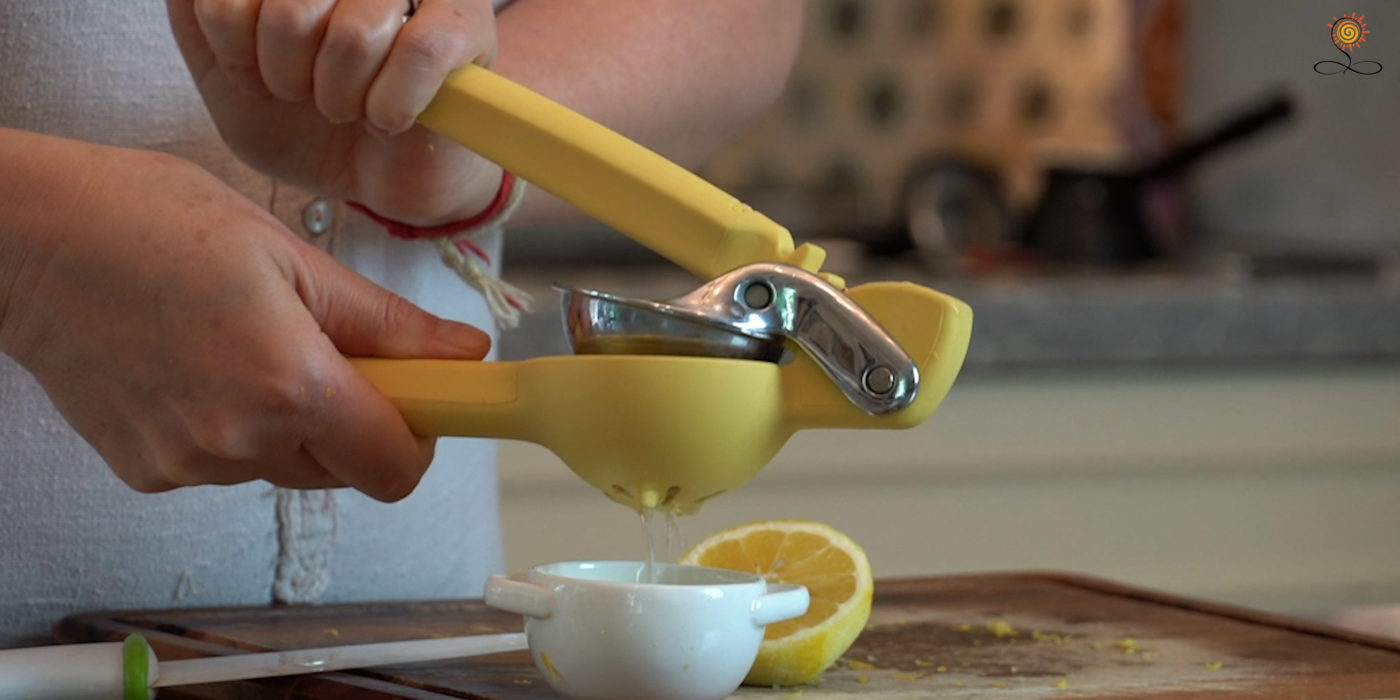
To make the best hummus, we will need some lemon. To get the most health benefits and the best taste, we will use lemon zest along with lemon juice.
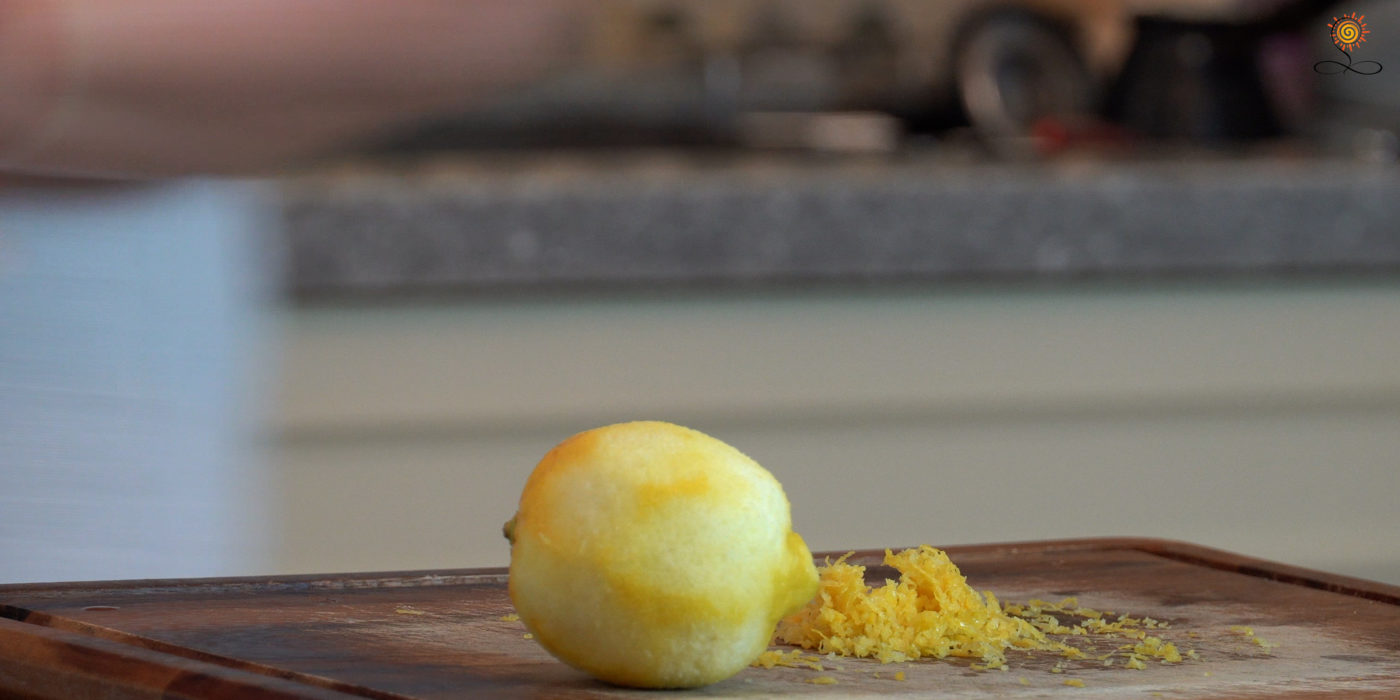
Any time you are using lemon zest, please be sure that your lemon is organic.
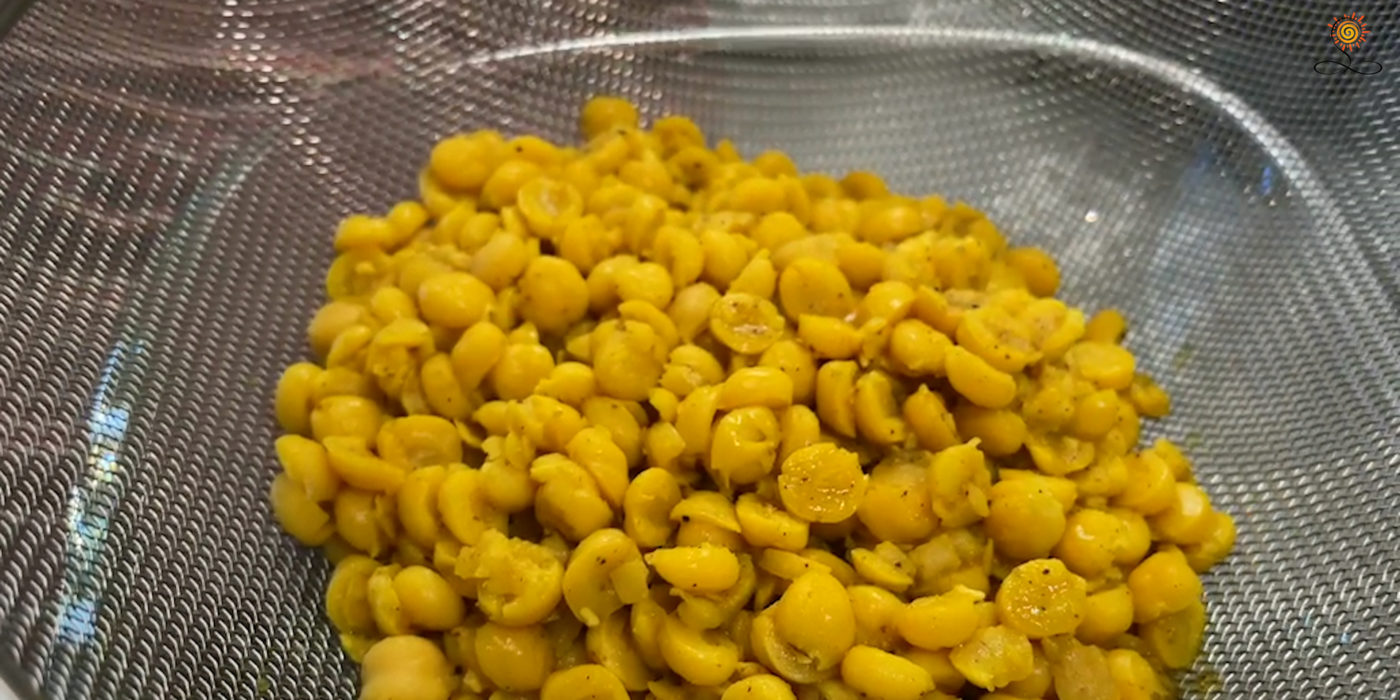
When your chickpeas are done, remove the kombu from the pot, cool them out a bit, and strain them through a seave.
Meet the best, most delicious aqafaba! 🤩 👇🏻
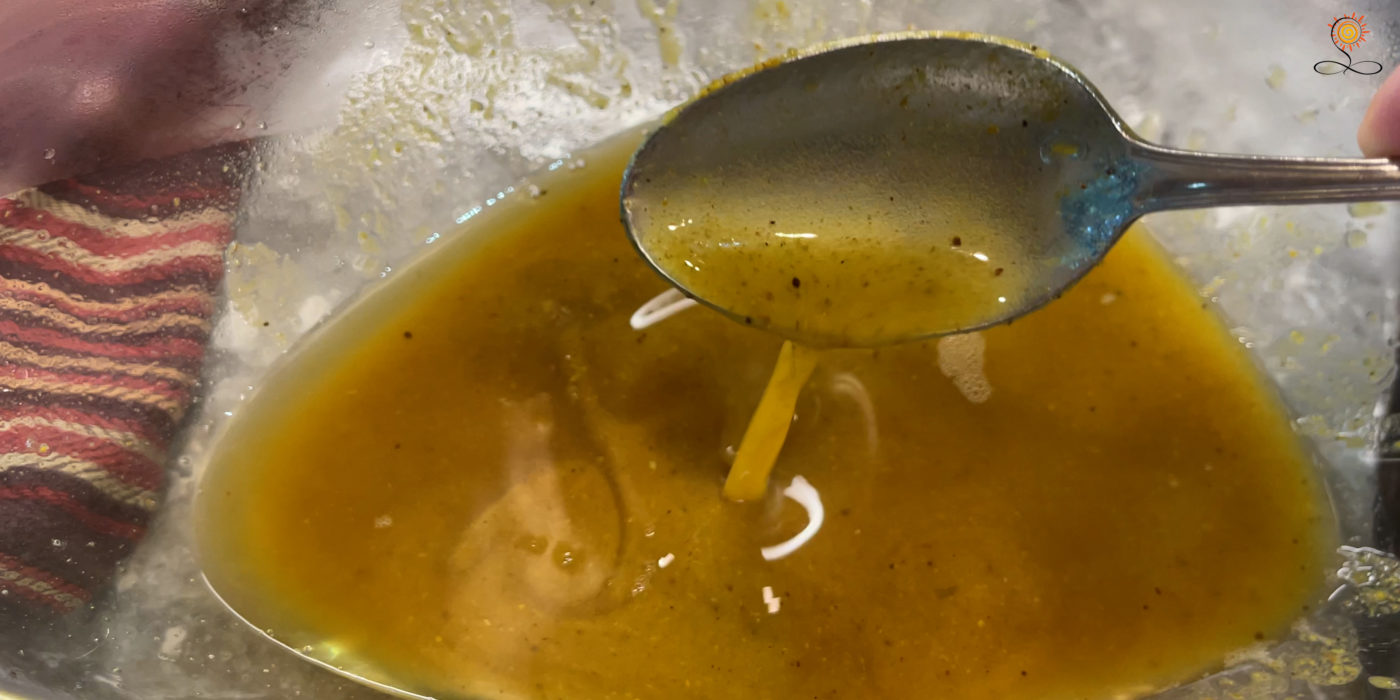
Save all the precious liquid you end up with. We will use some of it later.
You can use a food processor or a high-power blender like a Vitamix blender to make this hummus.
Off we go – Cheekpeas, followed by 1/4 cup of creamy tahini.
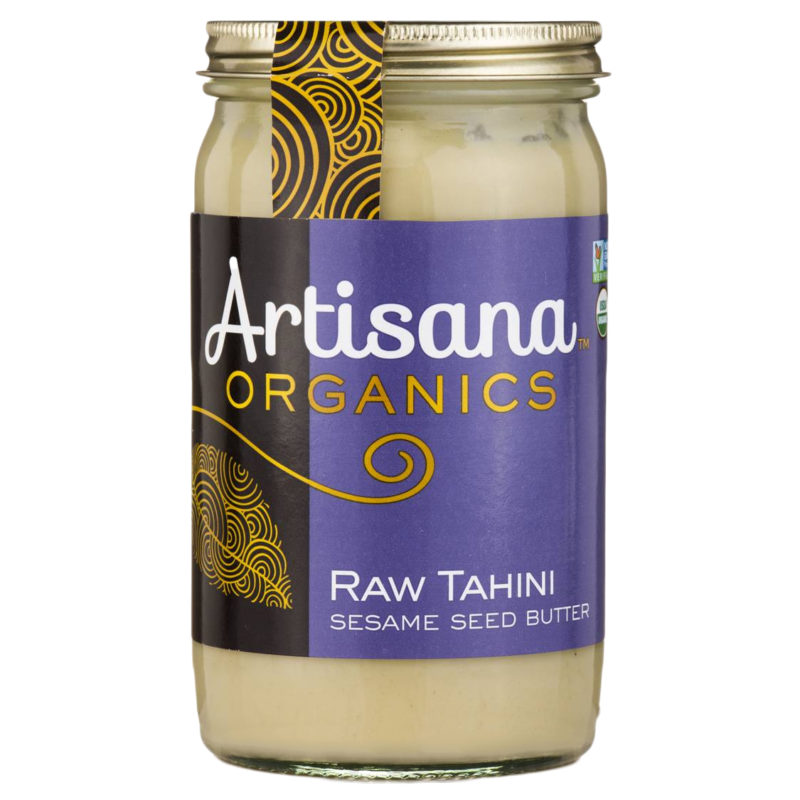
When it comes to tahini, I love to make my own because it always comes nice, creamy, and never bitter.😋 You can see all you have to know about tahini-making here 👇🏻.
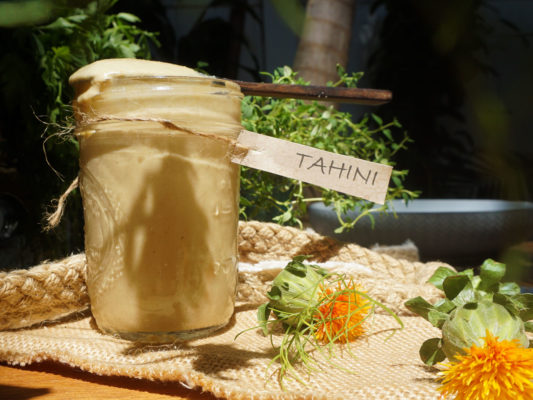
If you have your favorite brand, you can use it; if you don’t, I left some tahini brands suggestions that I used and love in the description below.
Next goes our Aquafaba (this yummy broth we have left after cooking our chickpeas). I’m using only four tablespoons of it today because I’m going for a smooth and creamy texture of a higher density. You can adjust the thickness of your hummus to your liking later by increasing the amount of chickpea broth (up to 8 tbsp).
Then add the juice of one lemon; usually, it is about four tablespoons (no less!) Then goes lemon zest.
You can add 1/4 tsp of Himalayan salt. Remember, we already salted our chickpeas while cooking, 😉 so not much alt needed here. Blend it, whip it until smooth and creamy. As I mentioned before, you can adjust the thickness by adding more chickpea broth. Just keep in mind that it with thicken a little bit more in the fridge.
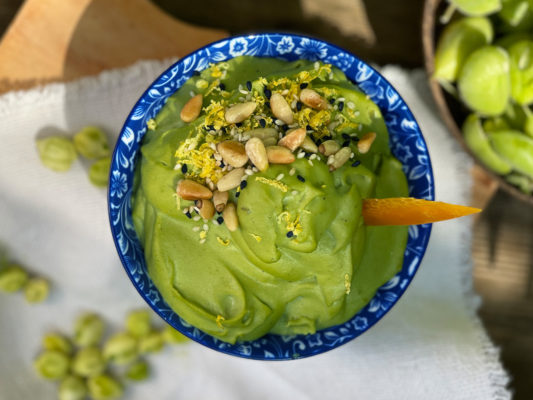
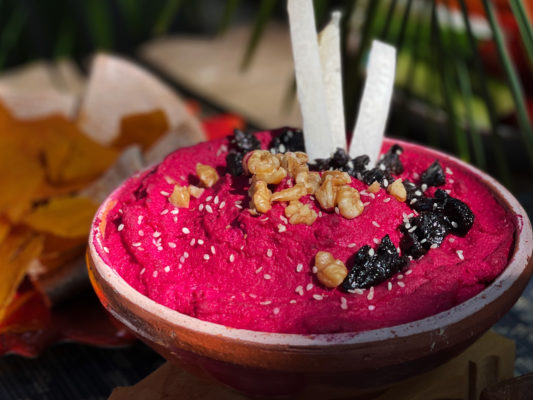
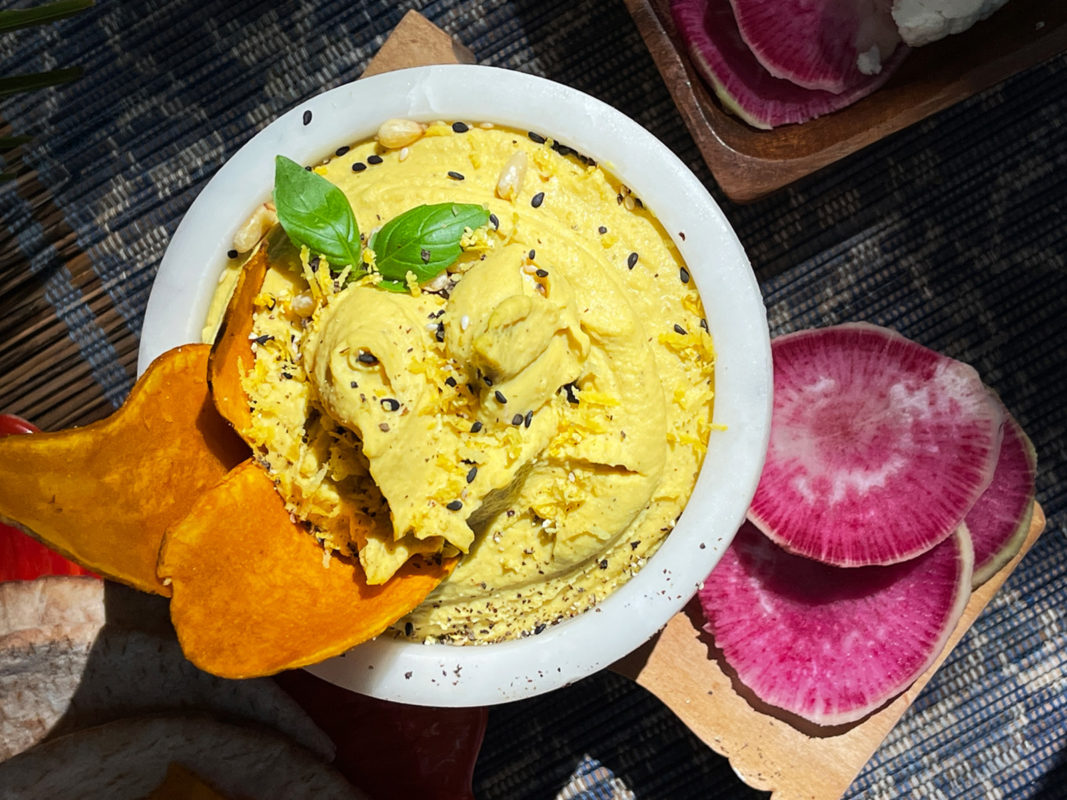
I’m garnishing it with roasted black sesame seeds and sweet potato chips to make it look all fancy.
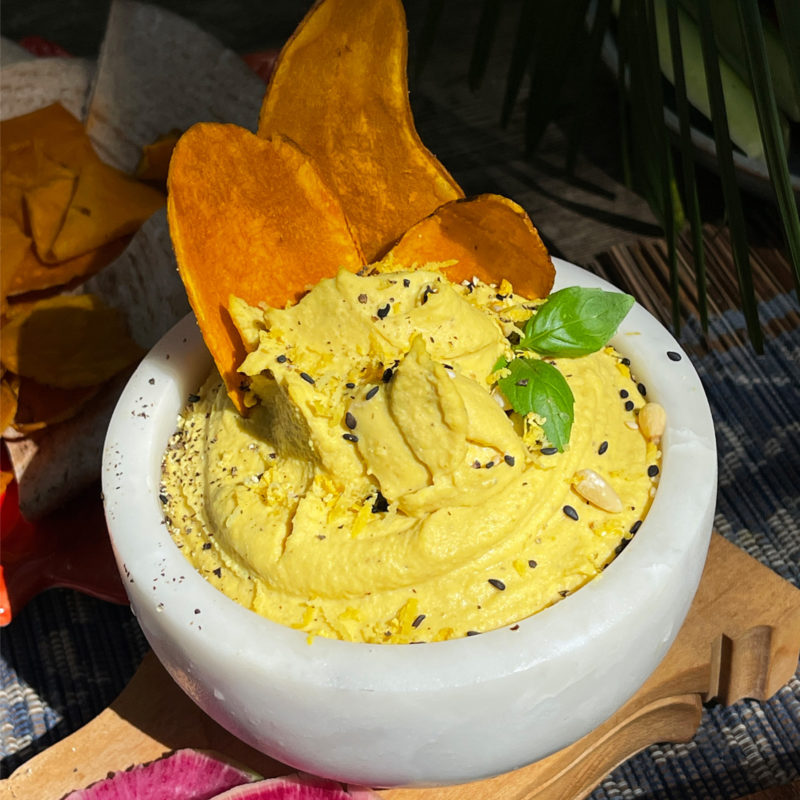
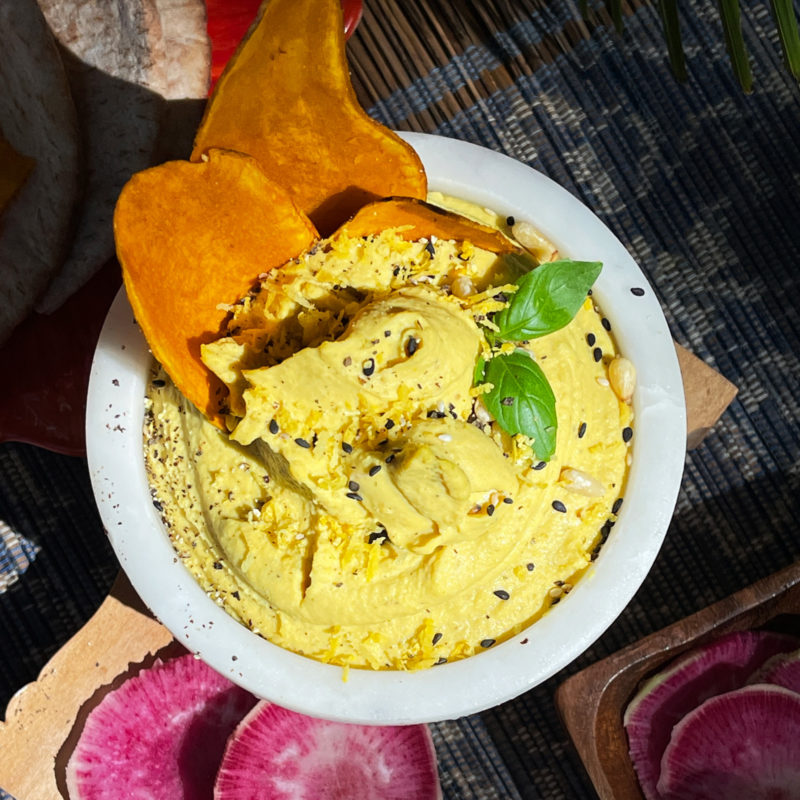
You can do the same or nothing at all – just get your favorite vegetables or pita bread and start dunking!
👩🏼🍳 THINGS I USED TO MAKE IT HAPPEN
These links will take you to a different website (like Amazon, etc.). If you purchase things you love using these links, I may receive a tiny commission that helps me to keep this project going at no extra cost to you. Thank you for supporting the Positive Pranic project.
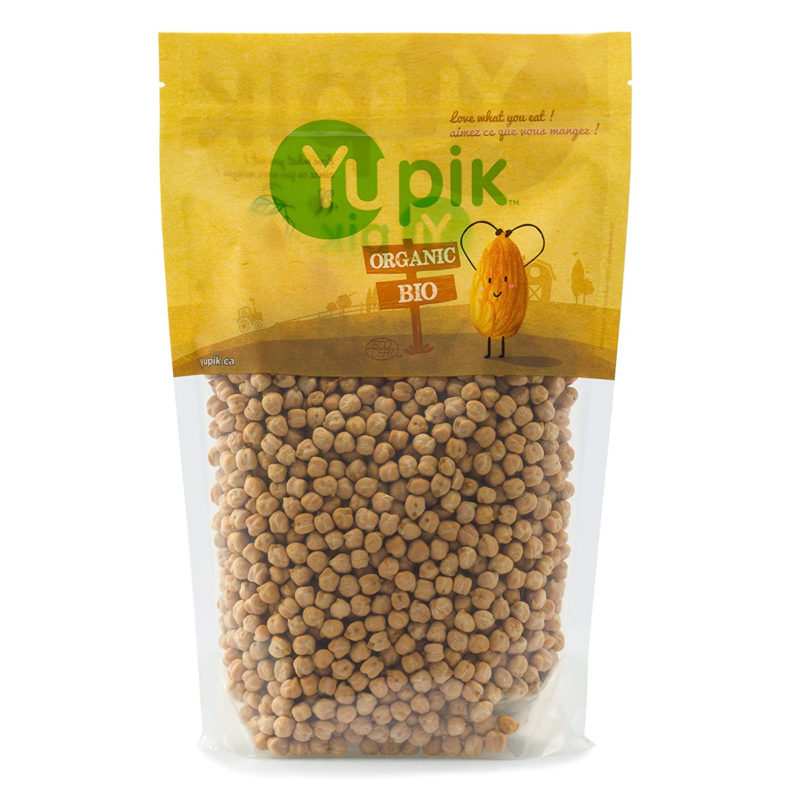


- 1 cups dry chickpeas (2 cups cooked )
- 4 tbsp chickpea water (aquafaba )
- 1/4 cup tahini
- 4 tbsp lemon juice (freshly squeezed)
- 1 tsp lemon zest
- 1/2 tsp himalayan salt
- 3 tsp basic savory sattvic spice mix
- 2 cups water
- Soak chickpeas overnight in lukewarm warm water, with a pinch of salt and a splash of lemon. In the morning, rinse your chickpeas thoroughly. You can grind soaked chickpeas with your hands to remove the outer layer (the skin)*. Give them a second rinse.
- Transfer chickpeas into a pot (pressure cooker or Instapat will work too). Add water, Basic savory Sattvic spice mix (BSSM ), and kombu (optional) and cook for about 40 min.; add Himalayan salt to your liking and continue cooking for another 20-40 min. or until chickpeas are very soft.
- When your chickpeas are done, remove the kombu from the pot, cool them out a bit, and strain them through a seave. Save all the liquid you end up with for later.
- Into a food processor, add cooked chickpeas, followed by creamy tahini, 4 tbsp*** of aquafaba (the broth we have left after cooking our chickpeas), lemon juice, lemon zest; you can add 1/4 tsp of Himalayan salt as well.
- Blend it, whip it until smooth and creamy.
- Garnishing it with roasted black sesame seeds or nothing at all – just get your favorite vegetables or pita bread and start dunking!
What about you?
Did you try this recipe?
I love hearing from you. Let me know how it went in the comments below and share a picture of your hummus on Instagram with the hashtag #positivepranic @positivepranic so I can see your beautiful creation 🙂 🙏
Be Alive 🌱,
❤ Love, Julia