


These are the three greatest things India offered to the world (in my humble opinion) – Yoga, Ayurveda & Siddha, and DOSA! To all my South Indian brothers and sisters, THANK YOU for all the most delicious Dosa varieties out there 🙏🏻 🙇🏼♀️ 🙏🏻 Please feel free to leave pointers, tips, how-to’s so we can learn, get better, and spread dosa love to the world 🤗
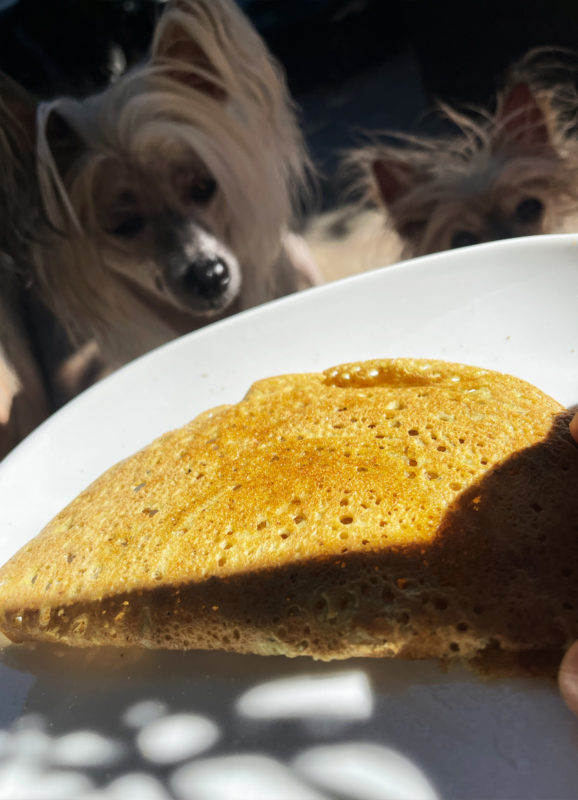
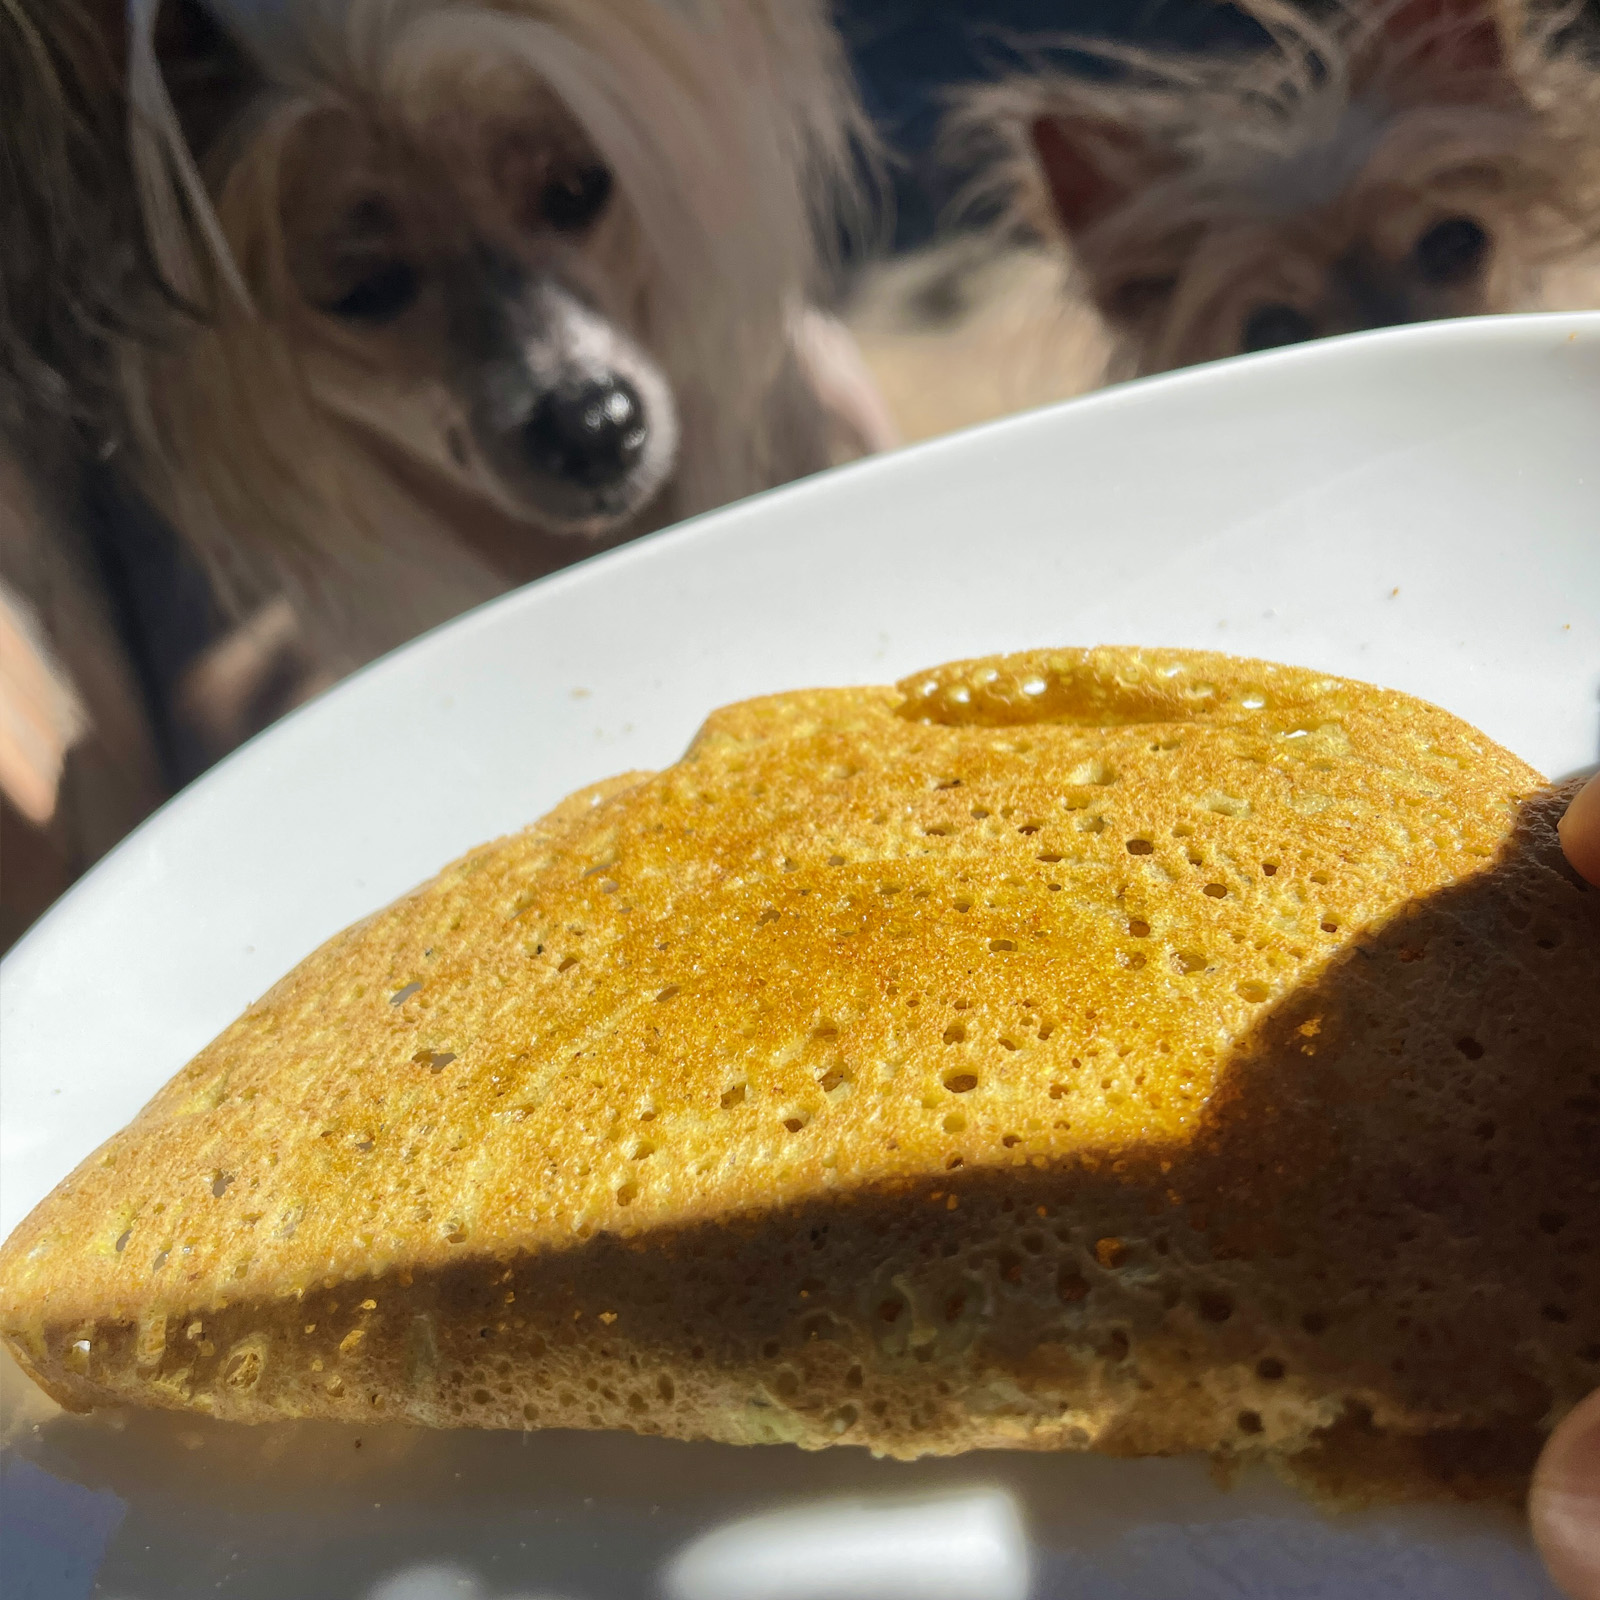
Fresh and easy-to-make fermented beautiful dosa batter is always in my fridge. The fermentation process makes any food more digestible, creates a wonderful flavor profile, and preserves dosa for a long time. In the fridge, it can last for up to a month! But, it never happens, though,😆 it survives a maximum of two weeks in my house. Even my dogs have their own dosa bowl in the fridge (plain one)! They can’t wait to have their dosa with banana and papaya in the morning.
In addition, the fermentation process makes grains and legumes easier to digest. So, if you had a hard time digesting those, you might want to consider giving this dosa recipe a try.
What is Dosa? Just in case you didn’t know. 🤗
🔊 dow·suh
Dosa (as dosai) comes from the ancient Tamil country around the 1st century AD 😲 (according to food historian K. T. Achaya).
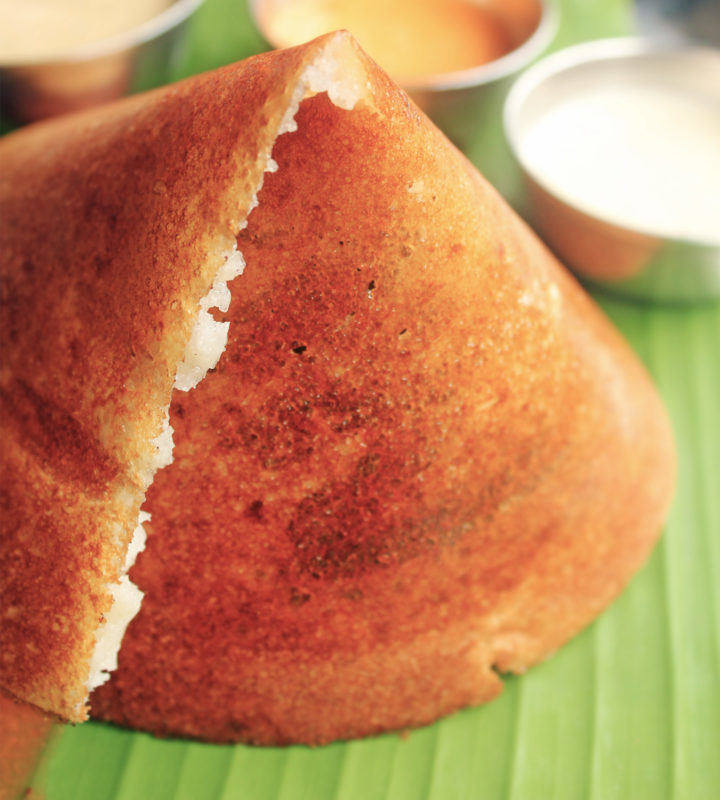
Dosa is a South Indian crepe made of rice and legumes. The batter is fermented, gluten-free, egg-free, dairy-free fluffy goodness that can be turned into thin crepes or fluffy pancakes. I find dosa very versatile because it can go savory or sweet.
Fermented dosa batter can stay in the fridge for a long time (up to 1 month), making it a very convenient and time-saving proposition. 💃🏼💃🏼💃🏼Whenever I need it – it is always there in the fridge, ready for me to whip it up.
If you have Dosa batter in your fridge, there is always something there to eat. 🙌🏻
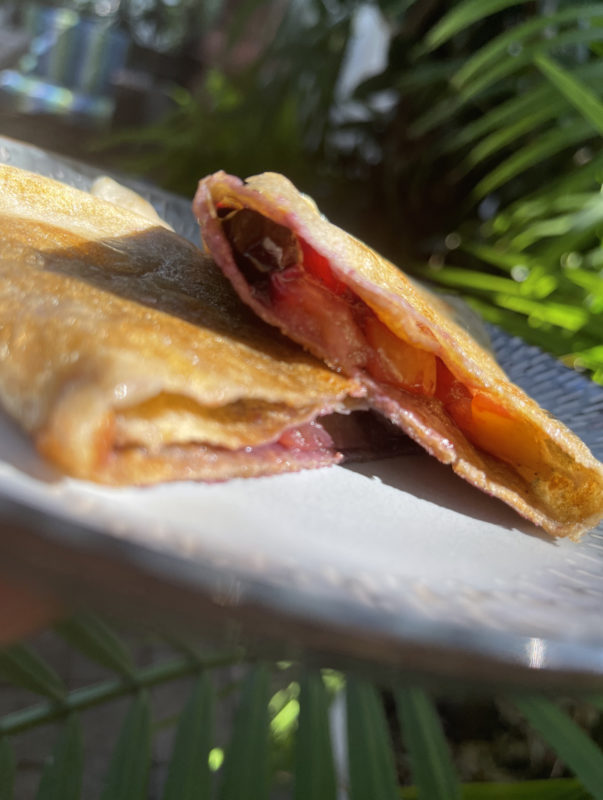
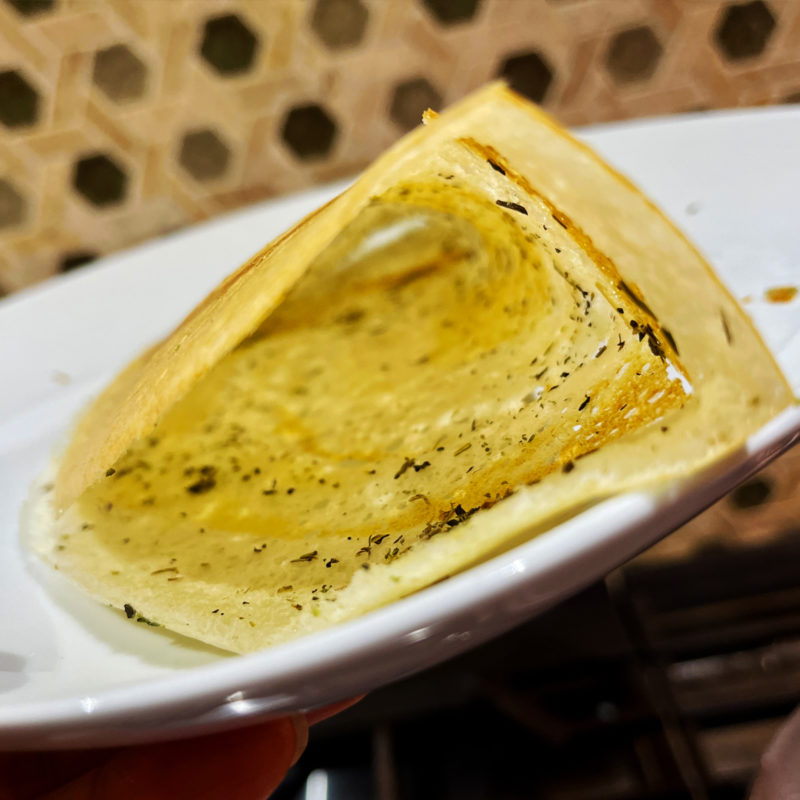
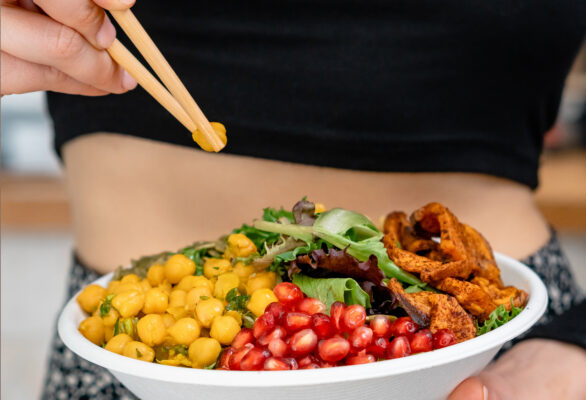
Traditionally dosa is served with chutneys. I eat dosa on the side with borsch or soup (it satisfies my bread craving absolutely!), I use it as a wrap (both savory or sweet); I make pancakes out of it; you can make it paper-thin and crisp, or crisp on one side, and soft on another, you can make it thick and mix in some of your favorite vegetables… All with the same batter! The possibilities are endless.!!!
Here I will focus on dosa-making basics. Once you get it done, there is nothing stopping you!

It doesn’t take much time to make the batter, either. Please 🙏🏻 don’t get intimidated by the lengthy instructions. It’s just me trying to cover all the basics so that you can have the most pleasant dosa experience, so I’m trying to be as thorough a possible. 💞
Dosa is so convenient, so delicious, so satisfying!!! I hope you enjoy it as much as I do.
The first time I tried dosa was here in America in a South Indian restaurant. What can I say? 🤷🏼♀️ It was love from the first bite. 🥰 Then, after I went to the motherland of Dosa – Tamil Nadu – my affair with dosa was sealed.

How could I resist the seductive crisp and airy texture, tangy flavor with slightly sour notes, and endless possibilities that the dosa had to offer?
At first, I was purchasing homemade dosa batter from my friend and fellow meditator Lakshmi. But after I was “officially initiated” 😂 into the dosa making by a dear friend Siddharth, I ventured off into mastering my own dosa batter-making skills.
After trials and errors, trying different dosa recipes, adopting best practices and techniques, I ended up with the dosa batter mix that best suited my taste (for now). So, here I’m sharing the way I DOSA.
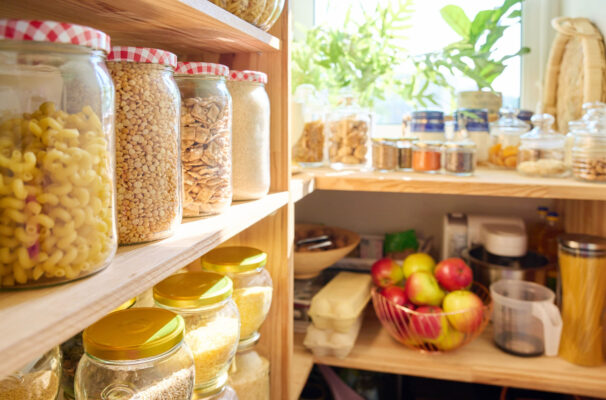
Dosa Pantry Essentials
Dosa batter prep is a breeze once you have all the necessary dals and rice at your disposal.
As I mentioned above, dosa is made of rice and legumes. So, at first, you might need to add a few new dosa-making ingredients to your pantry essentials. Those will be some split legumes, also known as dal (dhal) and rice. For me, the most convenient way to order them is through the Internet, but you can check your local Indian store (like Patel Brothers) if you have one in your area. (I will link all of the dals to Amazon for your convenience.)
Legumes
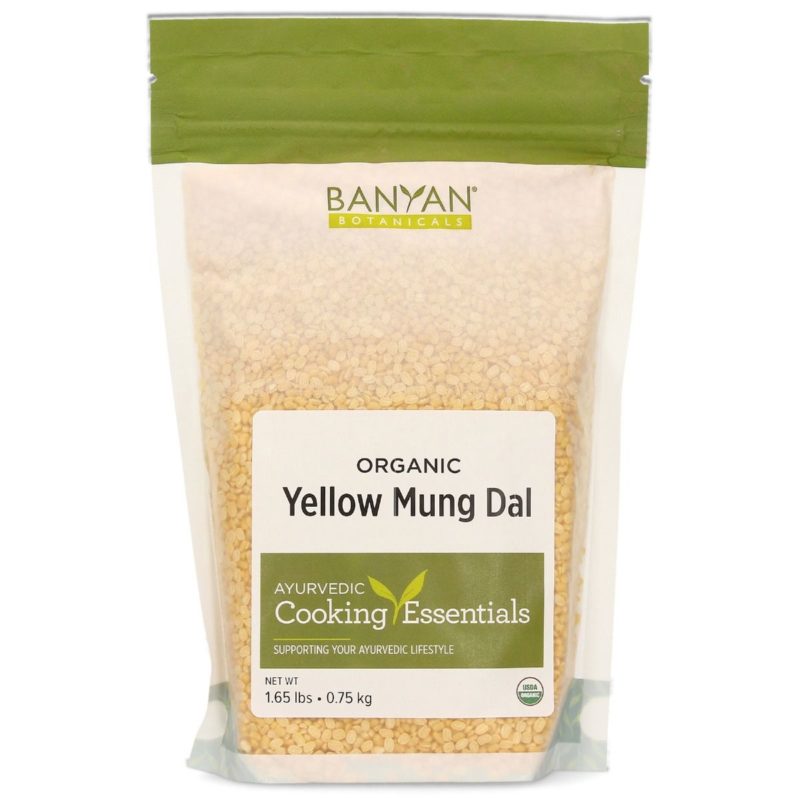
Yellow Mung dal – made from whole mung beans that have been hulled and split. I love it because from all the legumes out there yellow mung dal is the easiest to digest.
Urad Dal – hulled split black lentils;
Chana dal – hulled split chickpeas; Chana dal helps dosa to crisp up.
Toor dal – split yellow pigeon peas. (I have no idea what they do, but without them, my batter is not rising as good, go figure)
I tried to simplify the recipe and include fewer dals, but this particular combination and proportion work the best.
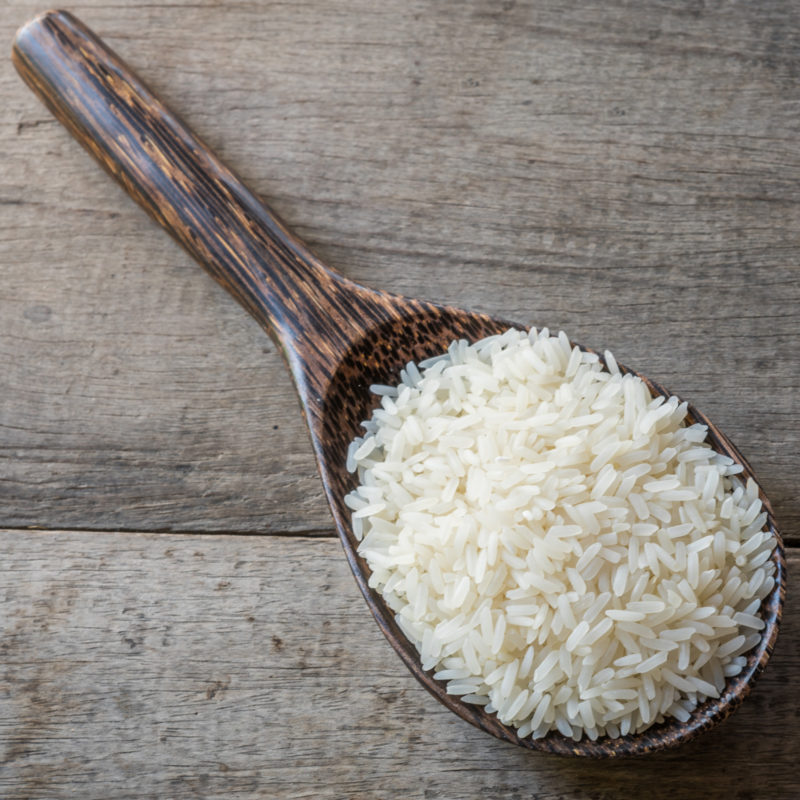
Rice
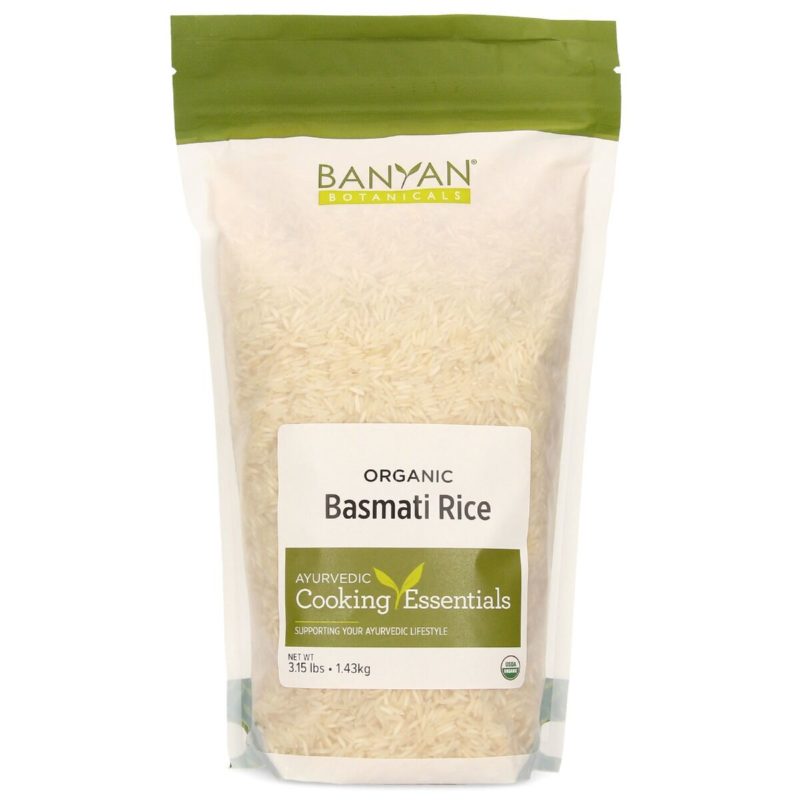
I love using raw rice for all types of rice dishes, and especially it is critical when it comes to the fermentation process. There are a lot of different rice types available on the market. Some rice varieties are raw (like Jasmine or Basmati rice, to name a few), and some are partially pre-cooked (like parboiled or idli rice). When it comes to fermentation, texture, and taste, with jasmine rice (so far), I’ve had the best results. So, for this reason, Jasmine rice -it is.
Equipment
Blender. When it comes to equipment, a high-speed blender 🌪 would be the preference. Even though I heard that some make dosa batter using a regular blender, I can’t vouch for that because I never tried. I’m using a Vitamix blender; it works great.
Dosa pan. When it comes to a pan (or griddle), use the one you are friends with 👯♀️. A well-seasoned cast-iron griddle would be preferred. But, if you have no experience with cast iron and feel more comfortable using a non-stick type of pan, it’s okay. Just be sure to choose a reputable brand and quality cookware free of PTFE, lead cadmium, and other toxic materials 👻that can make their way into your food.
Ladle with a side handle. It is important that the handle extends outward, not upward. Traditionally a flat-bottom ladle is used. The flat bottom helps with the even distribution of batter on the pan, making your dosa perfect 👌🏻. One day I may get a flat-bottom ladle for myself, but for now, I’m using the one I’m used to 😉.
Nitty-Gritty details that make a difference.
When to add salt? In my experience, batter ferments much better with no salt added. I add salt after the batter is fermented.
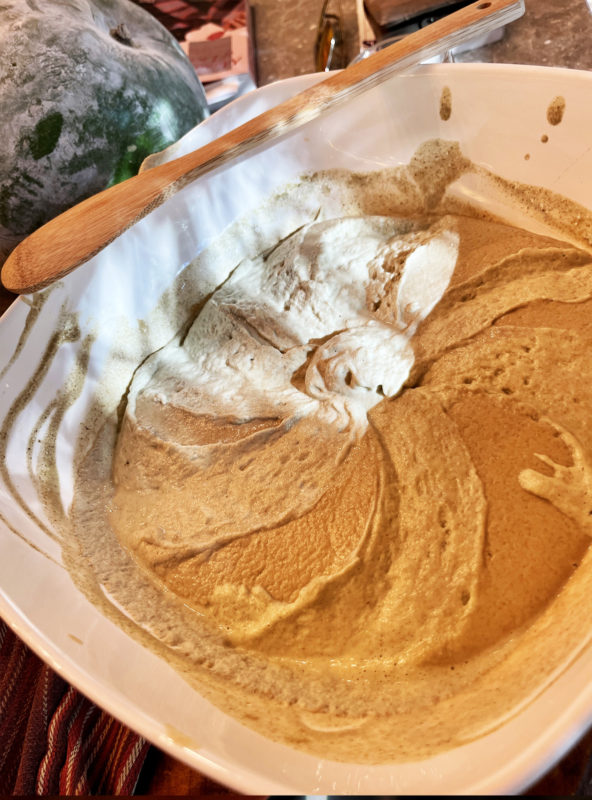
Make it thick. We want our batter to be as thick as possible. The thicker the batter, the better it will rise.
How to mix dosa batter. Traditionally dosa batter is mixed with the hands for 2 to 3 minutes to jump-start the fermentation process. I find it to be true. I tried mixing the batter with a large spoon and with my clean hands. The difference is very noticeable. So give it some sweet thoughts and loving energy while you’re at it. Mixing batter with clean hands will definitely increase fermentation.
Water. Use filtered drinking water during soaking and batter preparation. Tap water may contain chlorine and other chemicals that will interfere with the fermentation process.
Fermentation Temperature. Usually, I leave my Dosa batter overnight on my kitchen counter to ferment. For me, it works out great. For fermentation, Dosa batter should be left in a warm place, that’s important. I was taught that the ideal temperature for fermentation is 90F. So you can keep it in the oven with the viewing light on. The light should produce enough heat to keep it cozy. Try and see what works for you.
Before making dosa let your batter sit on the counter for 15-20 min. Ideally, the dosa batter should be at room temperature.
My dosa batter-making routine
16 min. x 2 a month = fresh dosa every day
3 min in the morning – put rice and legumes to soak.
10 min in the evening – make the batter and leave it to ferment overnight.
3 min in the morning – mix batter and put it in the fridge.
👩🏼🍳 THINGS I USED TO MAKE IT HAPPEN
These links will take you to a different website (like Amazon, etc.). If you purchase things you love using these links, I may receive a tiny commission that helps me to keep this project going at no extra cost to you. Thank you for supporting the Positive Pranic project.

- vitamix blender
- 2 cup Jasmine rice
- 2 cup yellow mung dal (hulled split mung beans)
- 1/2 cup urad dal (hulled split black lentils)
- 1 tbsp chana dal (hulled split chickpeas)
- 1 tbsp toor dal (split yellow pigeon peas)
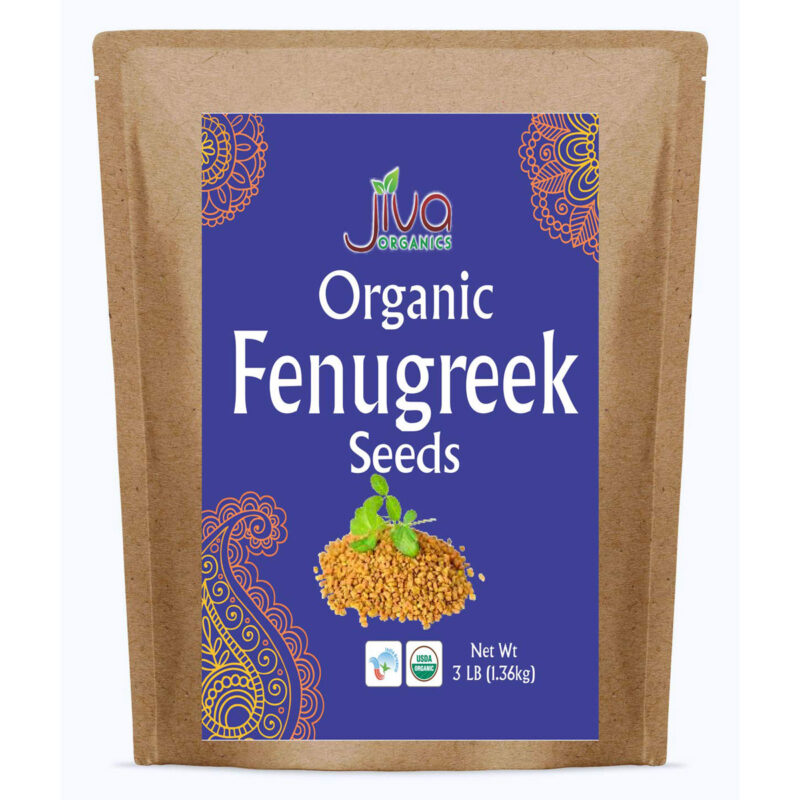
- 1 tsp fenugreek ( )
- 1 ginger (2.5-inch piece )
- 2 tsp Himalayan salt
- Soak rice and dals at least for 8 hours or overnight.
Soaking
- Place rice in a fine-mesh sieve and rinse thoughtfully under running water. Transfer the rice into a glass or ceramic bowl and add 3 -4 cups of filtered water. Cover with a cotton towel and set aside.
- Combine yellow mung dal, urad dal, chana dal, and fenugreek. Place dals in a fine-mesh sieve and rinse thoughtfully under running water. Transfer the dal mixture into a glass or ceramic bowl, add 4 cups of filtered water. Cover with a cotton towel and set aside.
Prep
- Strain the rice over a bowl through a mesh sieve to save the rice water. Set soaked rice aside.
- Strain the dal mixture through a mesh sieve and discard the soaking water. Set soaked dal aside in a separate bowl.
- Peel and chop ginger into pieces
Dosa batter Making
- Wash your hands 🤗
- Transfer rice into a blender, add 1 cup of rice soaking water. Start blending on slow and gradually increase blender speed to high. Blend until the rice mixture is smooth* and the consistency of thick pancake batter (about 3 min). If needed (to keep the blender going), you can add more rice soaking water 2 tbsp at a time**. Keep batter as thick as possible.Transfer the rice batter into a large ceramic or glass bowl.
- Transfer half of the dal mixture and ginger into a blender (no need to wash the blender).Add 3/4 cup of rice soaking water. Starting blending on low-speed, gradually increasing the speed to high. Stop and scrape the sides if needed. Blend until smooth (about 3-4 min). If needed (to keep the blender going), you can add more rice soaking water 2 tbsp at a time**Transfer dal batter mixture into the bowl with rice batter mixture.Repeat the process for the other half of the dal mixture.
- Transfer dal batter mixture into the bowl with rice batter mixture.
- With clean hands, thoroughly combine the mixtures into a batter***.
- Cover your dosa batter with a cotton dish towel and leave it on a counter for 12 hours or overnight. Your batter should rise, become light and frothy with a pleasant, slightly sour smell. (it should nearly double in volume)
- In a small cup or bowl, dissolve 2 tsp of Himalayan salt with 1/4 cup of filtered water. Pour the mixture over the batter and whisk it in.
- Mix the batter and transfer it into 2 or 3 glass or ceramic containers; Make some dosas right away, the rest of the batter, keep it in a fridge and use it as needed.
Dosa Making
- Remove dosa batter from the fridge and set it on a counter to warm up a bit**** (I found 10-20 min is sufficient)Whisk the batter until smooth. It should be the consistency of pancake batter. If it is too thick, you can add a little bit of water. (check the video to see the consistency)
- Heat griddle pan over medium-high heat. Add a few drops of oil to the griddle pan. Grip the paper towel with tongs and rub around the pan.You can sprinkle a few drops of water. The pan is ready if the drops sizzle. When the pan is hot enough, bring the heat down to medium/low.
- Ladle the batter (per 10.5" pan – 3/4 cup for pancakes; 1/2 cup for crepe or wrap) onto the center of the pan. Immediately spread it evenly from the center outwards in the circular motion (see the video).note: If the batter got stuck to the pan, it could be because your pan is too hot—cool down the pan by reducing the heat.
- When small holes form on the top of the dosa, add a little bit of ghee (or coconut oil) to the dosa's surface and the edge. When the bottom turns golden, and the top is set (about 2 min), flip the dosa using a spatula and cook on the other side for about 2 more min. (until golden and cooked through). note: If you're making a thin crepe-like dosa, there is no need to cook it on both sides. Instead, after the top sets (about 2-3min), you can remove the dosa from the pan.
- Serve your dosa right away. Then, repeat the process paying attention to the heat.
Variations
- After splitting the batter into to containers, these variations should be applied to 1 container.
- I. Mix 2 tsp of BSSM (Basic Savory Sattvic Spice mix) with 2 tbsp of filtered water. Whisk into a quart of batter.
- II. Mix 2 tsp of Digestive spice mix with 2 tbsp of filtered water. Whisk into a quart of batter.
- III. Whisk 1 tbsp of Herbs de Provence into a quart of batter.
What about you?
Did you try my dosa recipe?
Let me know how it went in the comments below and share a picture of your dosa on Instagram with the hashtag #positivepranic @positivepranic so that I can see your beautiful creation 🙂 🙏
Be Alive🌱,
❤ Love, Julia


Julia, thank you so much for this in-depth guide on making homemade Dosas. It was the first time I’ve ever made them, and my family couldn’t stop talking about it – they were a hit! I’m so grateful that I found your recipe – I’ll be making this regularly for myself moving forward.
Thanks for all the love you put into this post. 🙏♥️
I’m deeply touched by your kind words. Hearing about your family’s delight with the homemade dosas fills me with immense joy. It’s heartwarming to know that my recipe has found a place in your kitchen and, more importantly, in the cherished moments with your loved ones.
Cooking is not just about ingredients and techniques; it’s about sharing love, creating memories, and nurturing bonds. I’m thrilled that my guide has contributed to your culinary journey and has brought smiles to your family’s table.
Keep spreading the joy of homemade meals! 💞 🙏🏻