


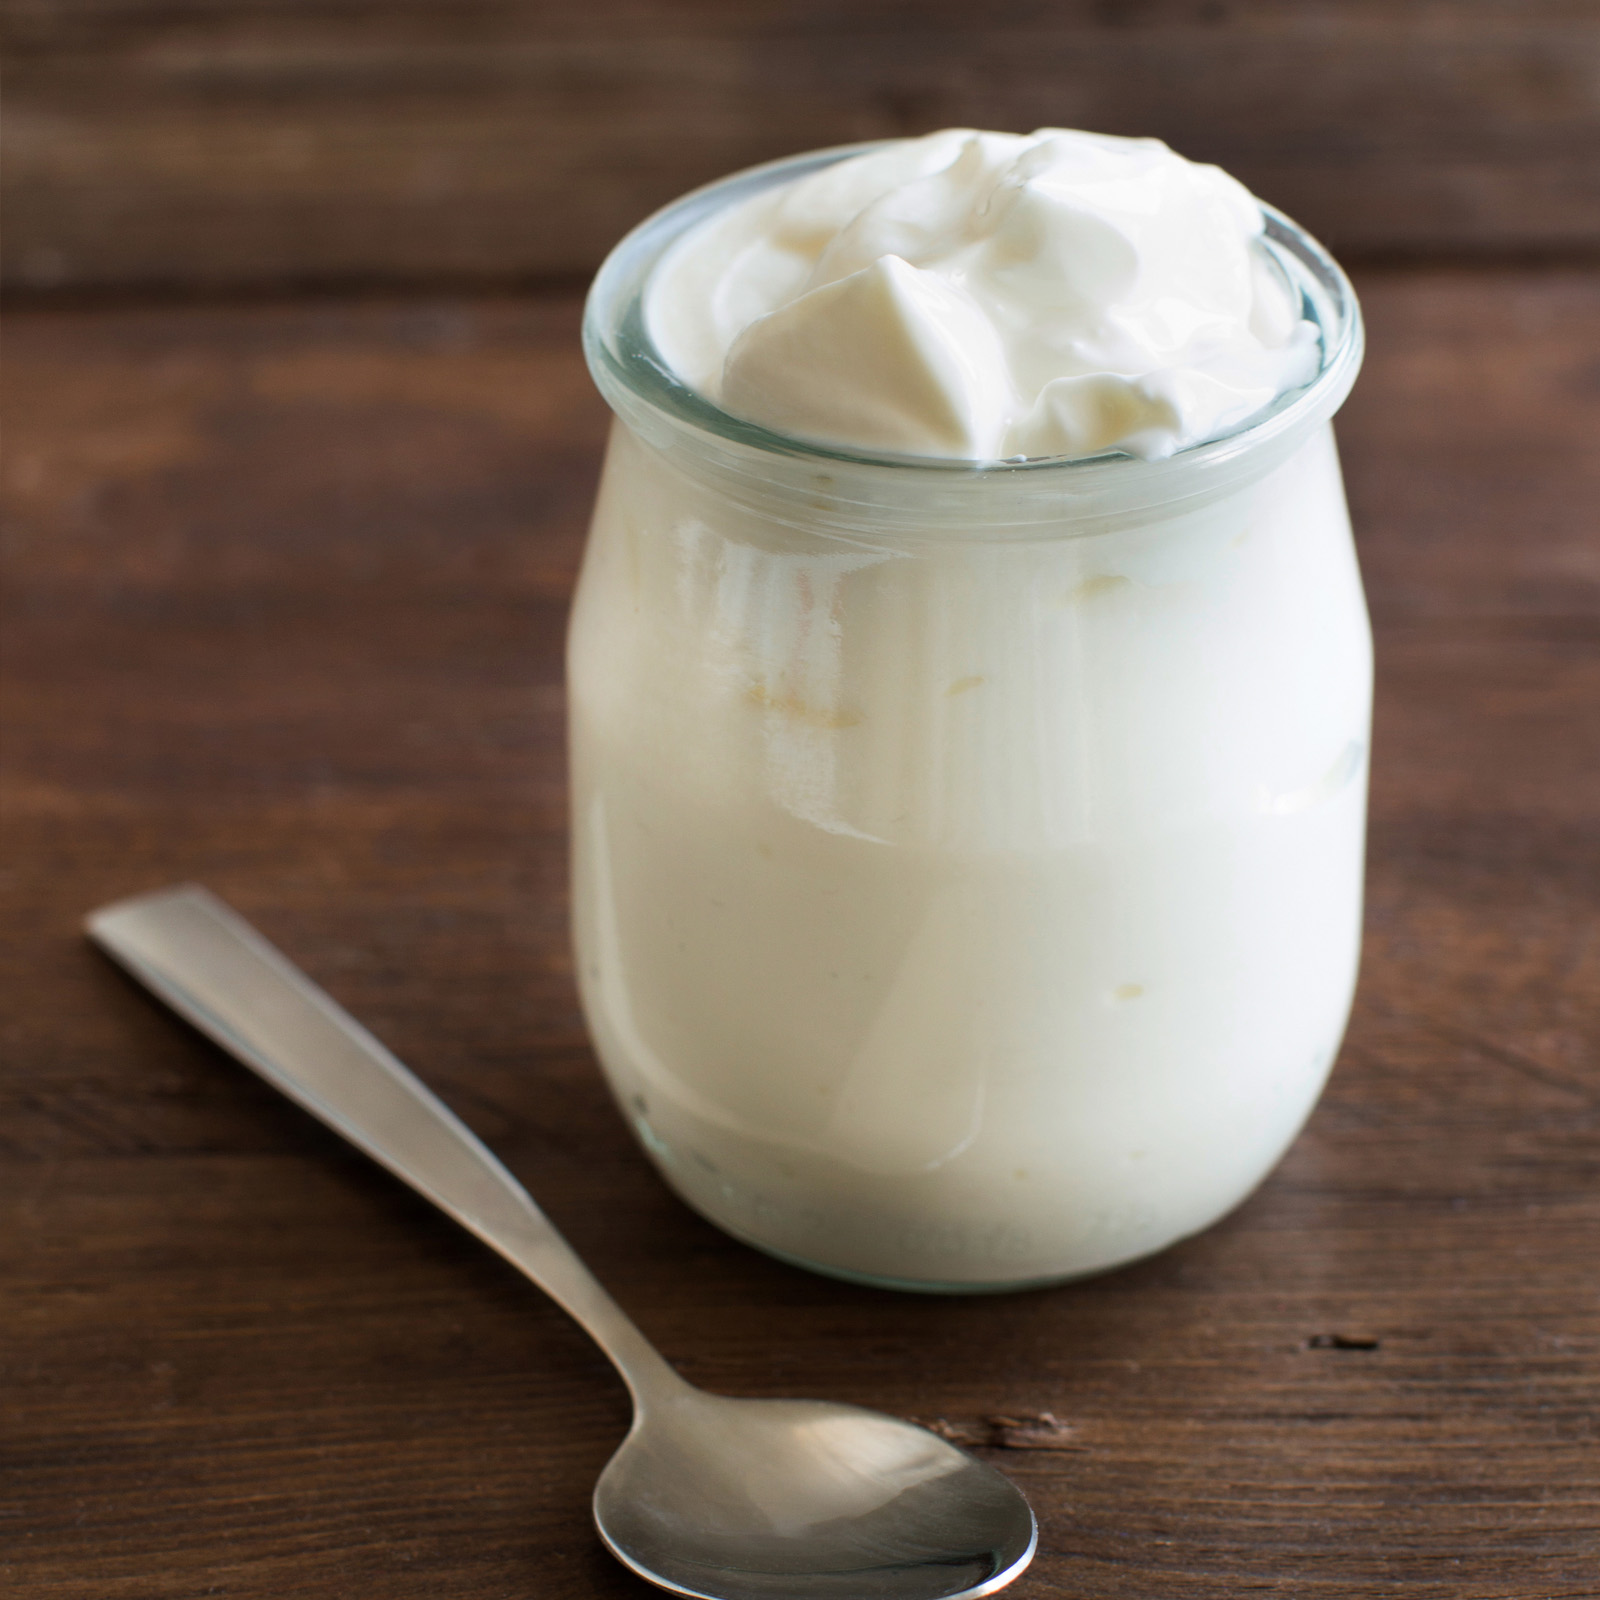
Almond milk yogurt is unreal!! Made with love from home-made almond milk, this thick and creamy goodness bursts with life and flavor and is gentle on your stomach. I love to eat this almond milk yogurt just like that – plain. I have to admit that I have a hard time calling it a “plain” yogurt because it’s everything but. When I create yogurt from freshly made almond milk, it’s a party on my taste buds. With this said, you can flavor it with fruits, vanilla beans, molasses, or carob syrup.
This almond yogurt is irresistible in parfaits, smoothies, lassis, and is perfect for granola.
Ok, I can profess love to the home-made thick and creamy almond yogurt all day long. Let’s get to the nitty-gritty part of easy yogurt-making with all the tips and techniques.
watch me make it in this video
ALMOND MILK YOGURT ANATOMY
ALMOND MILK
If bacteria don’t want to eat it, why would you?
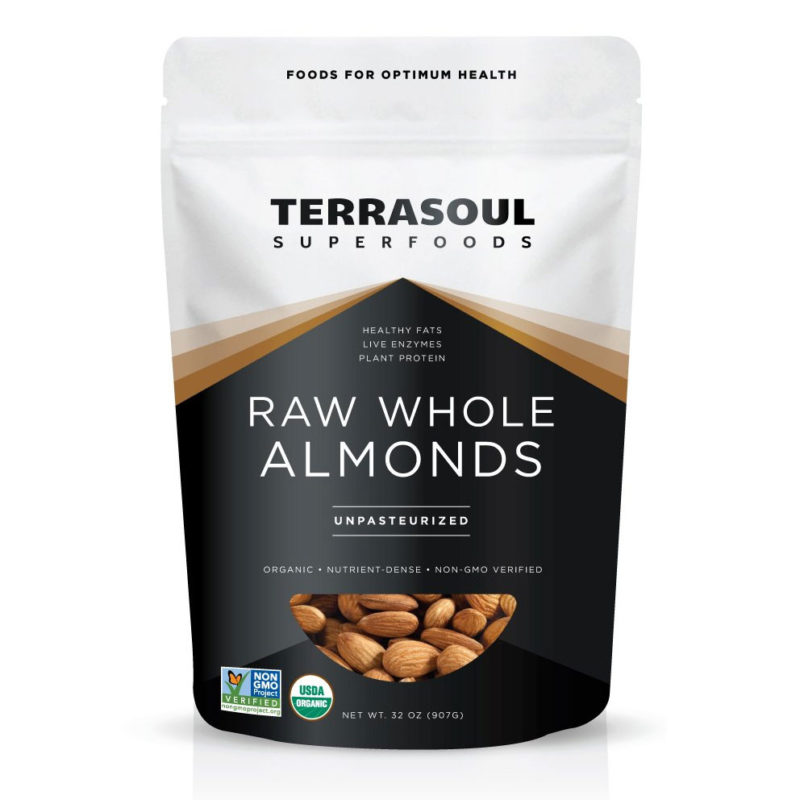
The first and the base ingredient for this yogurt is home-made almond milk made of blanched and soaked-overnight almonds. There is a reason why I call it a base ingredient. The most important part is not just the sheer volume of the almond milk, but the quality. Almond milk has to house and feed the good bacteria we plan on introducing to it.
Because store-bought milks are full of additives and preservatives, they are inhospitable to any bacteria (good or bad). I say, if bacteria don’t want to eat it, why would you? And this is why almond milk has to be home-made. I will give a brief guide on how to make it in this recipe, but you can refer to this article that includes video and methods to see how I make Almond milk in greater detail 🥛👉🏻 Positively Pranic Almond Milk.
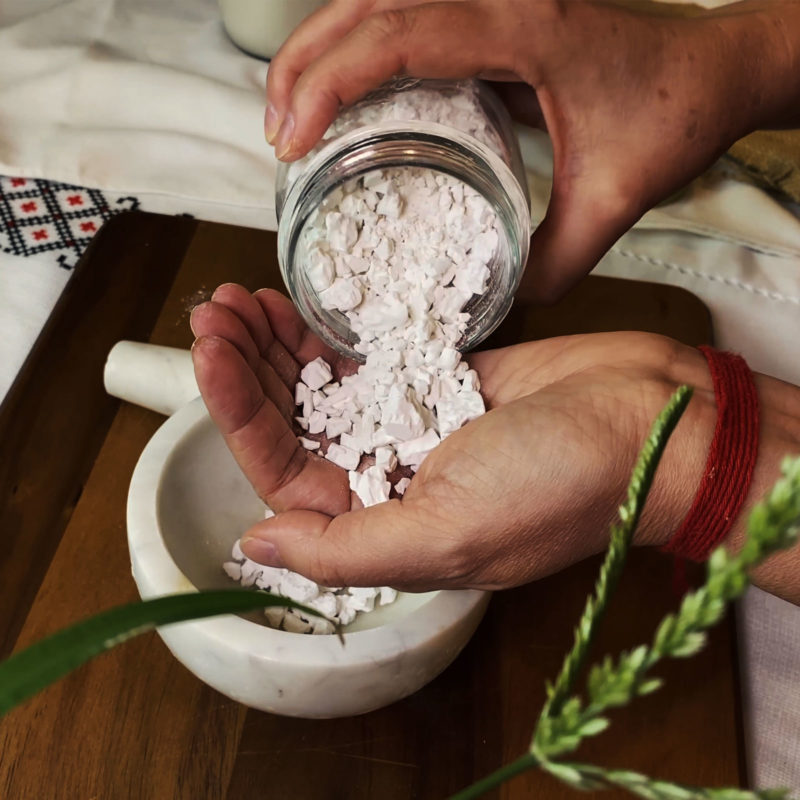
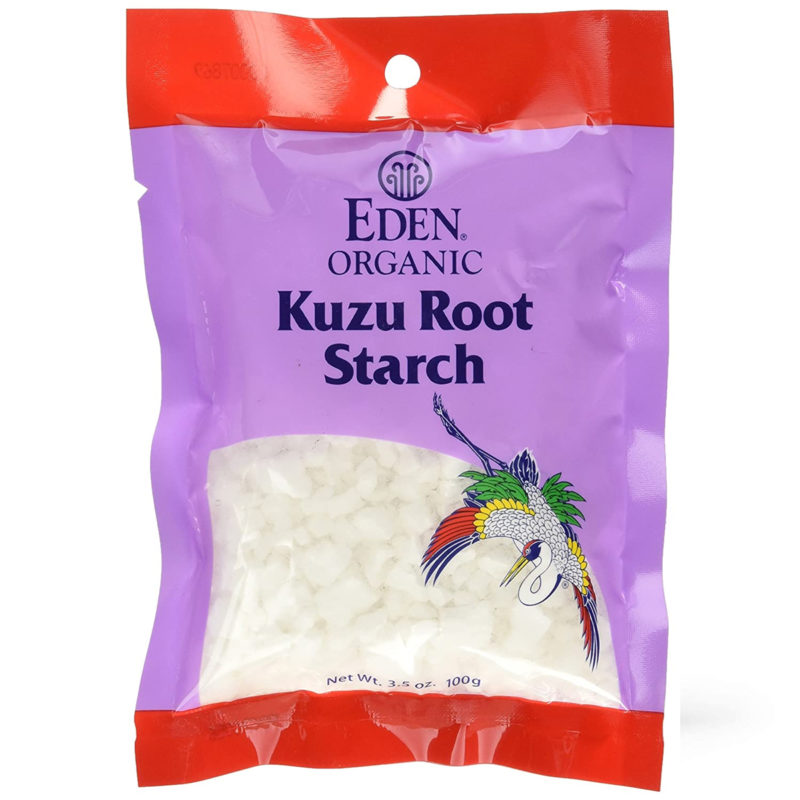
KUZU
Do your gut a favor.
I turned to the kuzu root during my chemotherapy days when I had to assist my digestive processes and to calm my nerves at the same time. And it was a constant in my cupboard ever since.
Used by Eastern healers for more than 2,000 years, kuzu root is known for its ability to treat numerous health concerns. But for the purpose of this article, I would like to focus only on three kuzu qualities.
Kuzu is highly prized as a digestive aid. It makes kuzu the perfect companion to the good gut-friendly bacteria and makes our yogurt so much more beneficial to overall gut health.
Kuzu is known for balancing acidity in sweets; That is an added bonus that gives you guilt-free flexibility to add more toppings and flavorings to your yogurt once it done.
Kuzu is an impeccable thickening agent. Kuzu’s unbeatable jelling strength and texture, combined with healing benefits, place it way above all other natural starches and thickening agents.
PROBIOTIC CULTURES
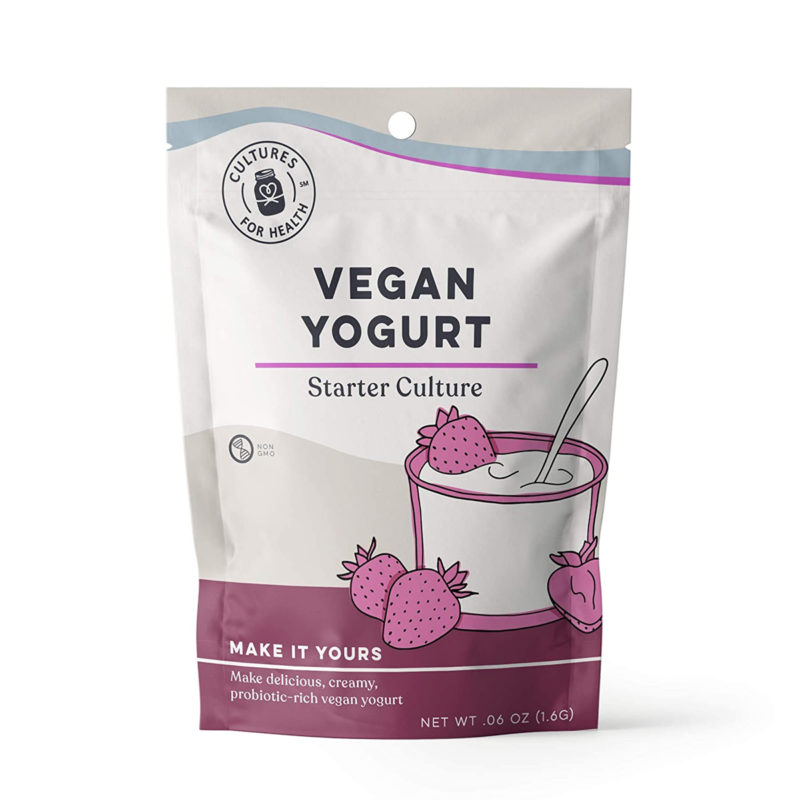
When it comes to introducing gut-friendly bacteria to the mix, you have a couple of choices. You can use probiotic capsules or a vegan yogurt starter.
I use probiotics that I feel work well with my body. Whichever probiotic you choose has to be a good quality and contain Lactobacillus bulgaricus and Streptococcus thermophiles strains of bacteria. That’s all. Just check the label.
As to vegan yogurt starters, there are several available on the market. They work well and provide specific yogurt cultures to give it this tangy taste you love to expect.
ALMOND YOGURT-MAKIN TECHNIQUE
- Proper introductions and goodbyes, or creating a welcoming environment for cultures to strive
I always start by pouring fresh almond milk in a pot and about 1/4 of a cup into a small bowl. After that, using a mortar and pestle, I grind kuzu into a fine powder. Then I incorporate kuzu into the small bowl of milk by mixing thoroughly until even consistency is reached.
Then I turn on the heat and bring almond milk to a boil while mixing continuously. When the milk starts to boil, I lower the heat and pour the cold milk/kuzu mixture in a thin stream while mixing vigorously. This technique ensures a smooth consistency of the yogurt base mixture.
After incorporating the kuzu mixture into a pot, it is essential to continue whisking our yogurt base on medium-low heat for about 5 minutes.
By doing so, I’m achieving two things:
1. activating kuzu;
2. preventing unwanted bacteria from cultivating by sterilizing the yogurt base mixture.
And here we have it – potentially harmful bacteria gone, and a creamy almond mixture that’s almost ready to expect new tenants.
Now, all we have to do is cool the mixture to the conducive temperature and properly introduce our probiotic cultures to their new home.
From this point on, it is critical to use only sterilized kitchenware; this way, we will not introduce any unwanted bacteria into the mix. It is preferred to use non-metal kitchenware if possible because the metal is self-sterilizing (meaning that it can harm probiotic cultures that we are about to introduce).
- Welcoming new friends.
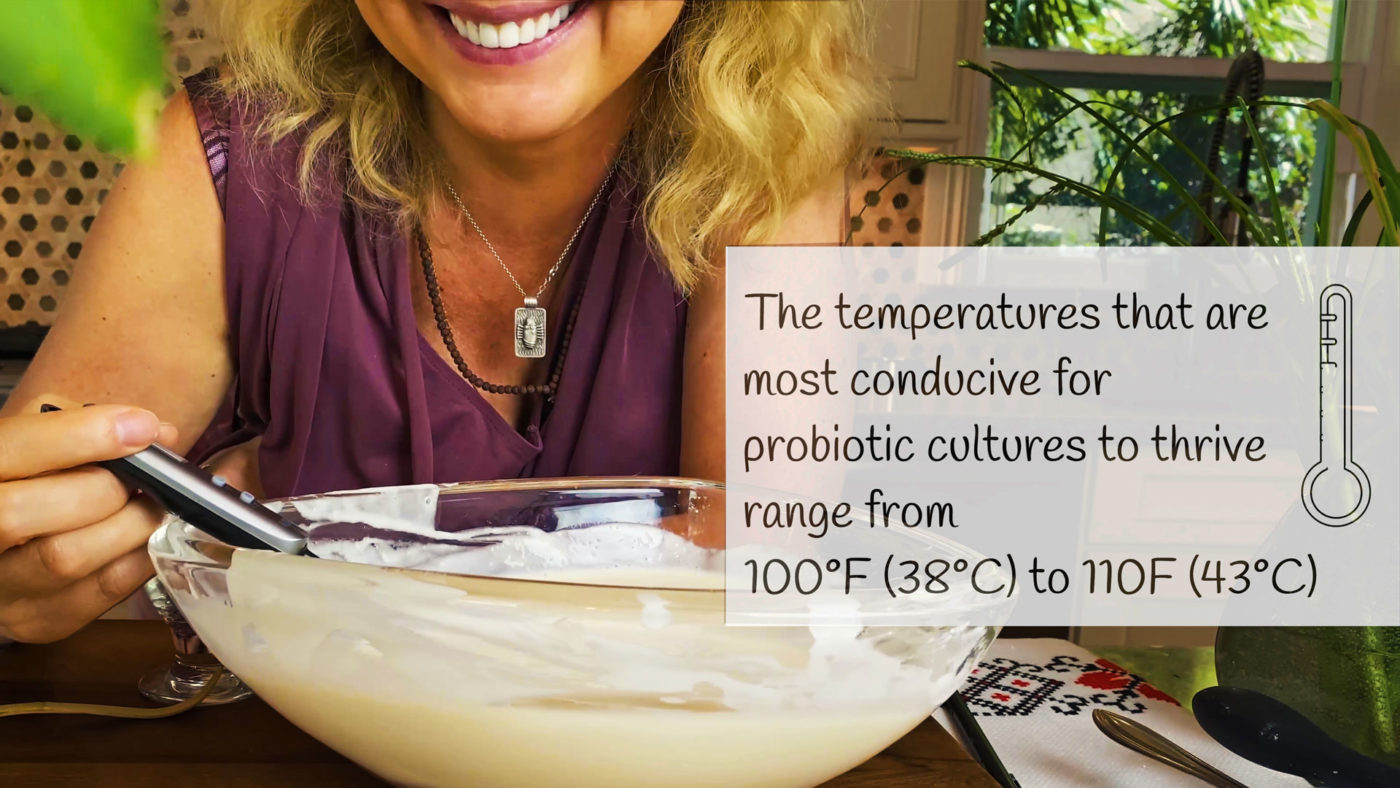
Setting the proper temperature for probiotic cultures to thrive is an essential step in the yogurt-making process.
To speed up the cooling process, I like to transfer the mixture to a sterilized glass bowl. We have to cool the yogurt base mixture to 110°F (43°C). The temperatures that are most conducive for probiotic cultures to thrive range from 100°F (38°C) to 110°F (43°C). I highly recommend using a thermometer to help you with the determination. If the yogurt base is too hot, it will kill all probiotic cultures. Here is the one I used.
Once the mixture reaches 110°F, take a spoon full of it into a small bowl and mix in your probiotic cultures. Incorporate well and only then combine well with the rest of the yogurt base mixture. The critical part of this step is to ensure that we achieve an even distribution of cultures through the mixture.
- Setting it cozy
Now to the last part. We have to set it in a conducive environment for our yogurt to propagate for the next 6 to 8 hours. The main point to keep in mind is the temperature, which should be anywhere between 105°-115°F (40°-45°C). It is basically like a steamy hot summer day.
YOGURT INCUBATION OPTIONS
Here you have several incubating options:
Option 1 – you can set it in an oven with the lights on. No heat, just lights. The heat that the light will generate should be enough to maintain the warm and moist environment we are looking for.
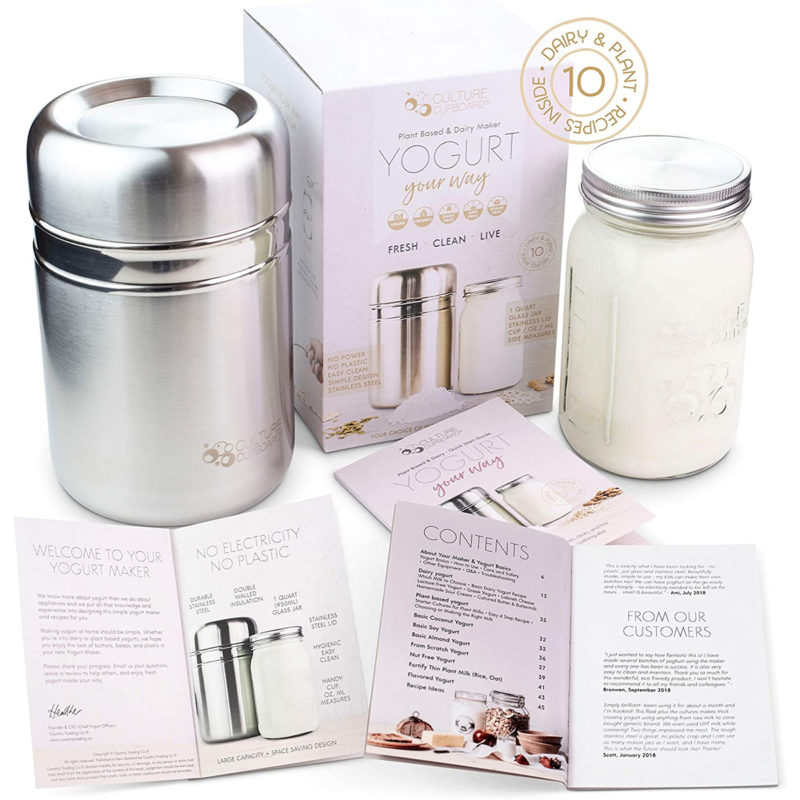
Option 2 – use a yogurt maker even though it is not necessary to have one, I use this one and am very happy with the results >>
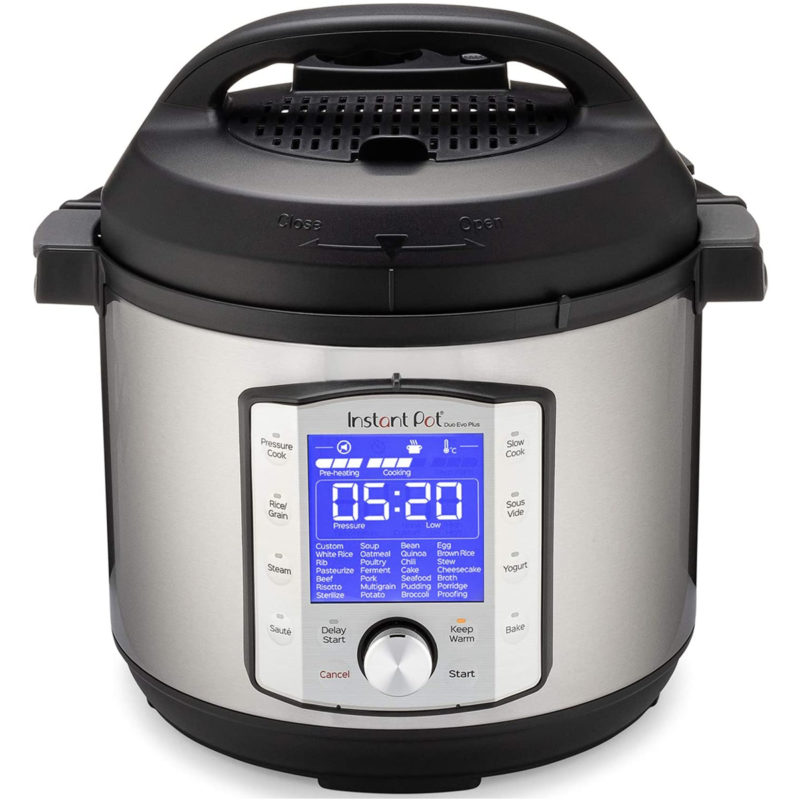
Option 3 – Instant Pot – If you have InstantPot (or other rice or slow cookers with yogurt setting). You can place your dish into an InstantPot on a yougurt>ferment>low setting. Just be sure there is no contact with metal surfaces, so our friendly bacteria can propagate in peace.
Now you can let incubation begin. 6 to 8 hours should be enough. The longer it sits, the tarter it becomes. After 6 hours, you can taste your yogurt; if you feel that it is tangy enough, you can place it in the refrigerator for at least 8 hours. This is the necessary time for the almond yogurt to set.
👩🏼🍳 THINGS I USED TO MAKE IT HAPPEN
These links will take you to a different website (like Amazon, etc.). If you purchase things you love using these links, I may receive a tiny commission that helps me to keep this project going at no extra cost to you. Thank you for supporting the Positive Pranic project.

- glass bowl
- thermometer
- whisk
- non-metal spoon
- medium saucepan
- 3 cups almond milk (home made)
- 3 tbsp kuzu root
- 1 probiotic capsule (open)
flavorings (optional)
- Sterilize your dishware before you begin*
- Pour fresh almond milk** in a saucepan and about 1/4 of a cup into a small bowl.
- Using a mortar and pestle ground kuzu into a fine powder. Incorporate kuzu powder into the small bowl of milk by mixing thoroughly until even consistency is reached.
- Using a mortar and pestle ground kuzu into a fine powder. Incorporate kuzu powder into the small bowl of milk by mixing thoroughly until even consistency is reached.
- Turn on the heat and bring almond milk to a boil while mixing continuously. When the milk starts to boil, lower the heat and pour the cold milk/kuzu mixture in a thin stream while mixing vigorously. After incorporating the kuzu mixture into a pot, it is essential to continue stirring our yogurt base on medium-low heat for about 5 minutes
- From this point on, it is critical to use only sterilized kitchenware; It is preferred to use non-metal kitchenware if possible;***
- Transfer the mixture to a sterilized glass bowl. Cool the yogurt base mixture to 110°F (43°C). I highly recommend using a thermometer to help you with determination. If the yogurt base is too hot, it will kill all probiotic cultures.
- Once the mixture reaches 110°F, take a spoon full of it into a small bowl and mix in your probiotic cultures. Incorporate well and only then combine with the rest of the yogurt base mixture. The critical part of this step is to ensure that we achieve an even distribution of cultures through the mixture.
- Cover almond milk yogurt with a cheesecloth, and set it in a warm environment between 105-115°F (40-45°C) to culture for 6 to 8 hours.****
- After 6 hours taste your yogurt; if you feel that it is tangy enough, you can place it in the refrigerator for at least 8 hours. This is the necessary time for the almond yogurt to set.
- Store yogurt in a fridge in an air tight jar for up to 5 days
3 cups water (filtered);
2 Medjool dates;
1/4 tsp sea salt;
With this recipe, it is very important to follow it precisely.
There are several things that can affect the texture of the yogurt. 1. If you substitute kuzu root for any other starch (like arrowroot, corn, or potato starch, etc.), the texture of your yogurt will be significantly affected. 2. After incorporating the kuzu mixture into a pot, it is essential to continue stirring the yogurt base on medium-low heat for 5 minutes. If you rush it, kuzu will not set correctly, and the consistency will be soupy. 3. Incorporating your live cultures with non-metal utensils should be done vigorously; the critical part of this step is to ensure that we achieve an even distribution of cultures through the mixture. 4. The exact temperature range has to be maintained in order for bacterias to propagate.
things i used in this video


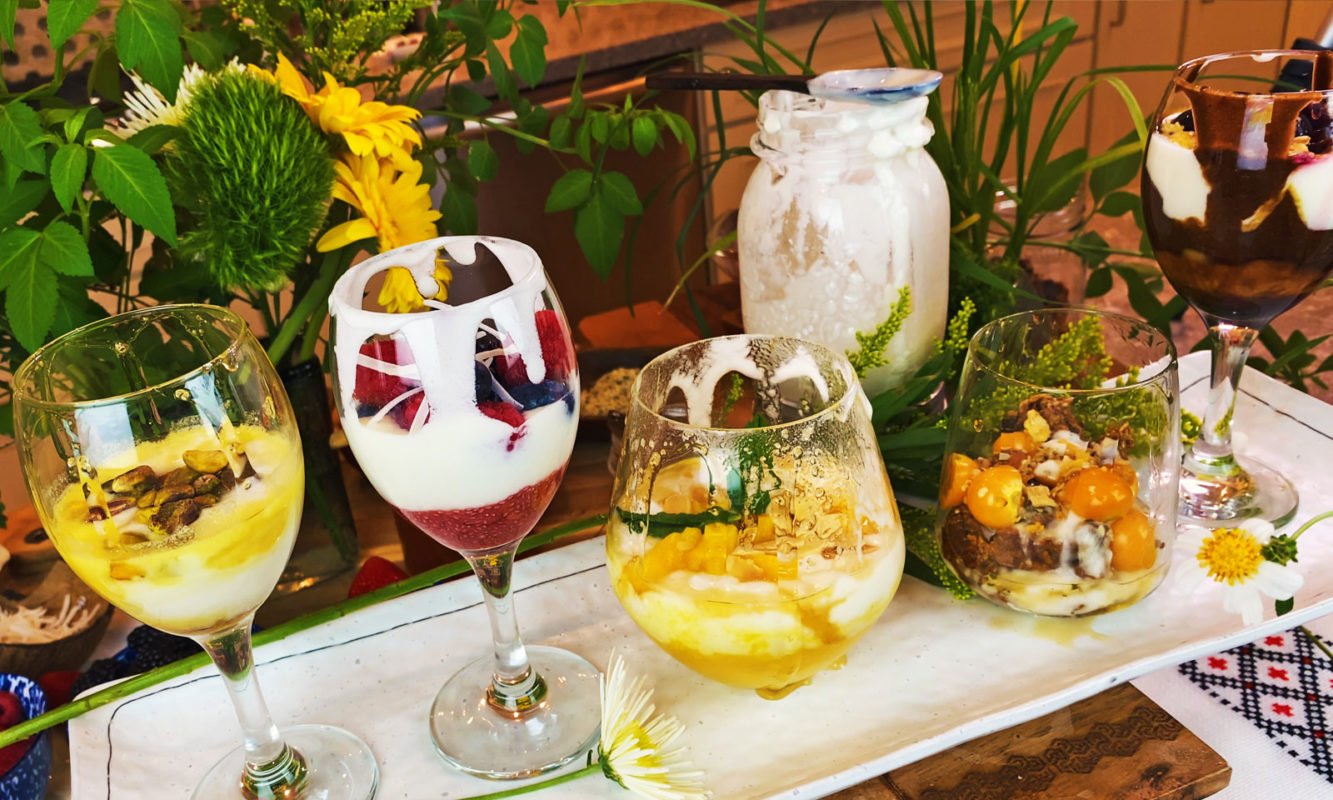
Yogurt Flavoring Options & Parfaits
Saffron Majic
- 1 tread of saffron;
- 1/2 tsp of cardamom, freshly ground;
- 1 tsp local honey;
- 1 tbsp pistachios for topping;
- 1/2 cup almond milk yogurt
Soak saffron and cardamom in 1 teaspoon of warm water for about 30 minutes. Add yogurt into a glass, pour in saffron/cardamom mixture. Drizzle with honey and top with pistachios.
Power Berry
- 1/2 cup yogurt;
- 1/4 cup of your favorite jam or jelly.
- Blackberry, blueberry, strawberry, and raspberry are my favorites. Check out these easy recipes for healthy and quick no-sugar-added jam ideas: Raw Blackberry Jam. Strawberry Jam or Raspberry Chia Seed jelly
Blackberry, blueberry, strawberry, and raspberry are my favorites. Check out these easy recipes for healthy and quick no-sugar-added jams ideas: raw Blackberry Jam. Strawberry Jam or Raspberry Chia Seed jelly
Mango Shine
Purée 1 mango;
1 tsp honey;
Mix in 1/2 cup yogurt;
top with 1 tbsp shaved blanched almonds.
Purée 3/4 of the mango and chop the other 1/4 part of it on small cubes. Place mango purée in a glass, layer Almond milk yogurt, then cubed mangoes, top it with shaved blanched almonds and a generous drizzle of local honey.
Caramel Apple
- Caramel: Soak two dates in warm water for about 1 hour. Blend using a hand-held blender with a pinch of salt, mix-in 1 tbsp cashew butter (you can make your own following the same method I’m using in this recipe >> Homemade Peanut Butter).
- Stir the caramel into 1/2 cup almond yogurt;
- add 1/4 cup of finely chopped apples;
- top with roasted walnuts.
Nutella Parfait
- lace the glass with carob syrup;
- 1/2 cup almond yogurt;
- 2 tbsp home-made sattvic Nutella;
- top with fresh pitted red cherries and drizzle with carob syrup.
Key Lime Pie
- Mix 1/2 cup almond yogurt;
- 2 tbsp lime juice;
- Sweeten with honey to taste.
Aloha
- 1/2 cup of almond yogurt,
- 1/4 cup pineapple, diced;
- 2 tbsp freshly shredded coconut, (if fresh is not available you can use shredded coconut from the freezer section);
- 1 tbsp chopped macadamia nuts for topping;
What about you?
Have you ever tried to make your own plant-based yogurt? What was your experience? Did you try this recipe? Let me know how it went! Leave a comment below and share a picture of your yogurt on Instagram with the hashtag #positivepranic , so I can see your beautiful creation 🙂 🙏
Be Alive 🌱,
❤ Love, Julia
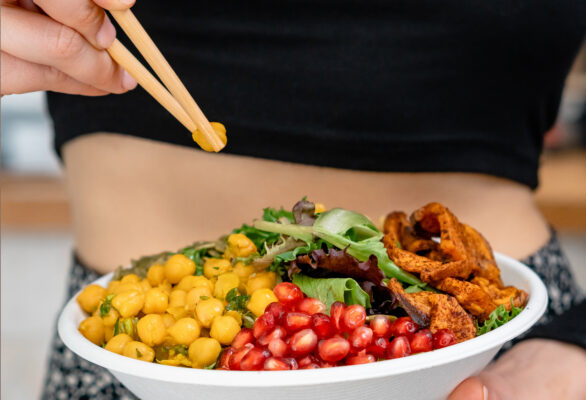
Mindful Eating 🥢


DISCLAIMER: The materials and the information contained on the Positive Pranic website are provided for general and educational purposes only and do not constitute any legal, medical, or other professional advice on any subject matter. None of the information on our videos is a substitute for a diagnosis and treatment by your health professional. Always seek the advice of your physician or other qualified health providers prior to starting any new diet or treatment and with any questions you may have regarding a medical condition. If you have or suspect that you have a medical problem, promptly contact your health care provider.
Hi Julia,
I tried this recipe, but the yogurt didn’t harden – it’s still soupy. I am not giving up. I wanted to know if it is necessary to peel the almonds when making the milk. That step took me a very long time and my hands are a bit arthritic and it was hard to do. Generally, when I make almond milk I soak the almonds but do not peel them.
Thank you,
Fran
Dear Fran,
I’m very happy that you are giving this recipe another try. For this recipe almonds must be blanched before making the milk. Usually after soaking the almonds overnight with a pinch of salt and a splash of lemon, the skin slides off pretty easily. But I can see how it can be challenging for someone with arthritis.
I made yogurt using this method with cashews. It comes out nice and creamy and thicker than almond milk yogurt. You might want to give it a try.
As to the yogurt consistency issues you want to be sure that adequate amount of kuzu is added (1 tbsp of powdered kuzu to 1 cup of liquid).
Another important thing is, after you add the cold kuzu mixture to the boiling milk, continue stiring on low heat for 5 minutes until it boils. That will allow kuzu to set properly.
I hope that is helpful.
Keep me posted.
Love,
Julia 🌱🌺😊
I’m from India….your recipe are very Excellent and motivating to keep myself on satvic diet…luv you
Thank you very much, dear Leena 🙏🏻
So happy you left me this note 😁
It is very important for me to know 💞
🙏🏻🌺🌺🌺🌺
Hello, I found your website last night and have been devouring it! Thank you for your love and healing intentions. I am wanting to try this yogurt and am wondering if you can share the probiotic you use for it in the video?
Thank you so much, Namaste, Gurudeepa
Thank you so much Gurudeepa for your kind words. 🙏🏻 🌺
For cultures, I’m using “Fortify Optima” probiotic by Nature’s Way. I couldn’t find it online to link to. I’m getting them from the Whole Foods Market freezer at the supplement section. Makes great yogurt 👌👌👌
Namaste 🙏🏻